


Easy Setup, Minimum Equipment:
Setting up a simple all-grain brew system without complicated equipment is much easier than you might think. Today, I’m going to share the most basic of the all-grain brewing systems: Brew in a Bag, also known as BIAB.
If you’ve searched for ‘All Grain Brewing Instructions’ on the internet, you will have probably seen some wonderfully complex explanations involving high costs and scary, if not entirely unfamiliar words. The BIAB all-grain brewing system is much less daunting and can be put together with barely any extra equipment.
Is It a Good System?
 Before writing this article, I put together a 20 liter BIAB system so I could share the photos with you. While it is about the most low-tech all-grain brewing system I have ever used, there are several advantages and disadvantages which should be considered:
Pros:
- It’s very easy
- Cheap to set up
- It does make beer!
Cons:
- It’s hard to maintain a constant temperature
- Hard to keep hob waste (trub) out of the brew
- My partner was annoyed at the state of her kitchen
Overall, if you are limited on space, time, or funds, BIAB is a great all grain brewing system. It won’t satisfy more advanced home brewers, however, due to the difficulty in clarifying the wort and replicating the exact brew schedule.
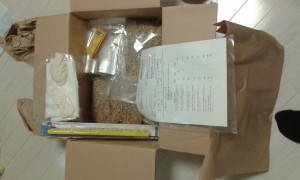
What You Will Need
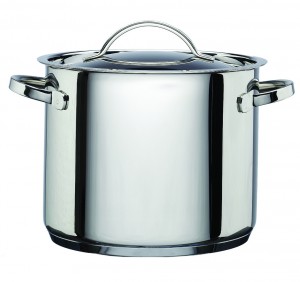
Photo by Cooks and Kitchens, UK
First, I am going to assume you already have a basic homebrew kit set up. If you don’t, please click here and get yourself set up. The only additional items you need are:
- A pot, slightly larger than your target batch size
- A large grain bag, slightly bigger than your pot
- A hop bag, also known as a hop sock
- A second, smaller pot
- A cooking thermometer
- Forgiving housemates
Let’s Do It!
Finally, simple all-grain brewing instructions! If you haven’t already, I strongly recommend that you read John Palmer’s book, ‘How to Brew’. If it’s a bit too complex for now, just follow my step-by-step guide below.
Choose a Recipe
Most recipes are written for 20 liter or five gallon batches, so I will assume you are using the same size. Click here to get some recipes.

Copyright Tess and Mark Szamatulski
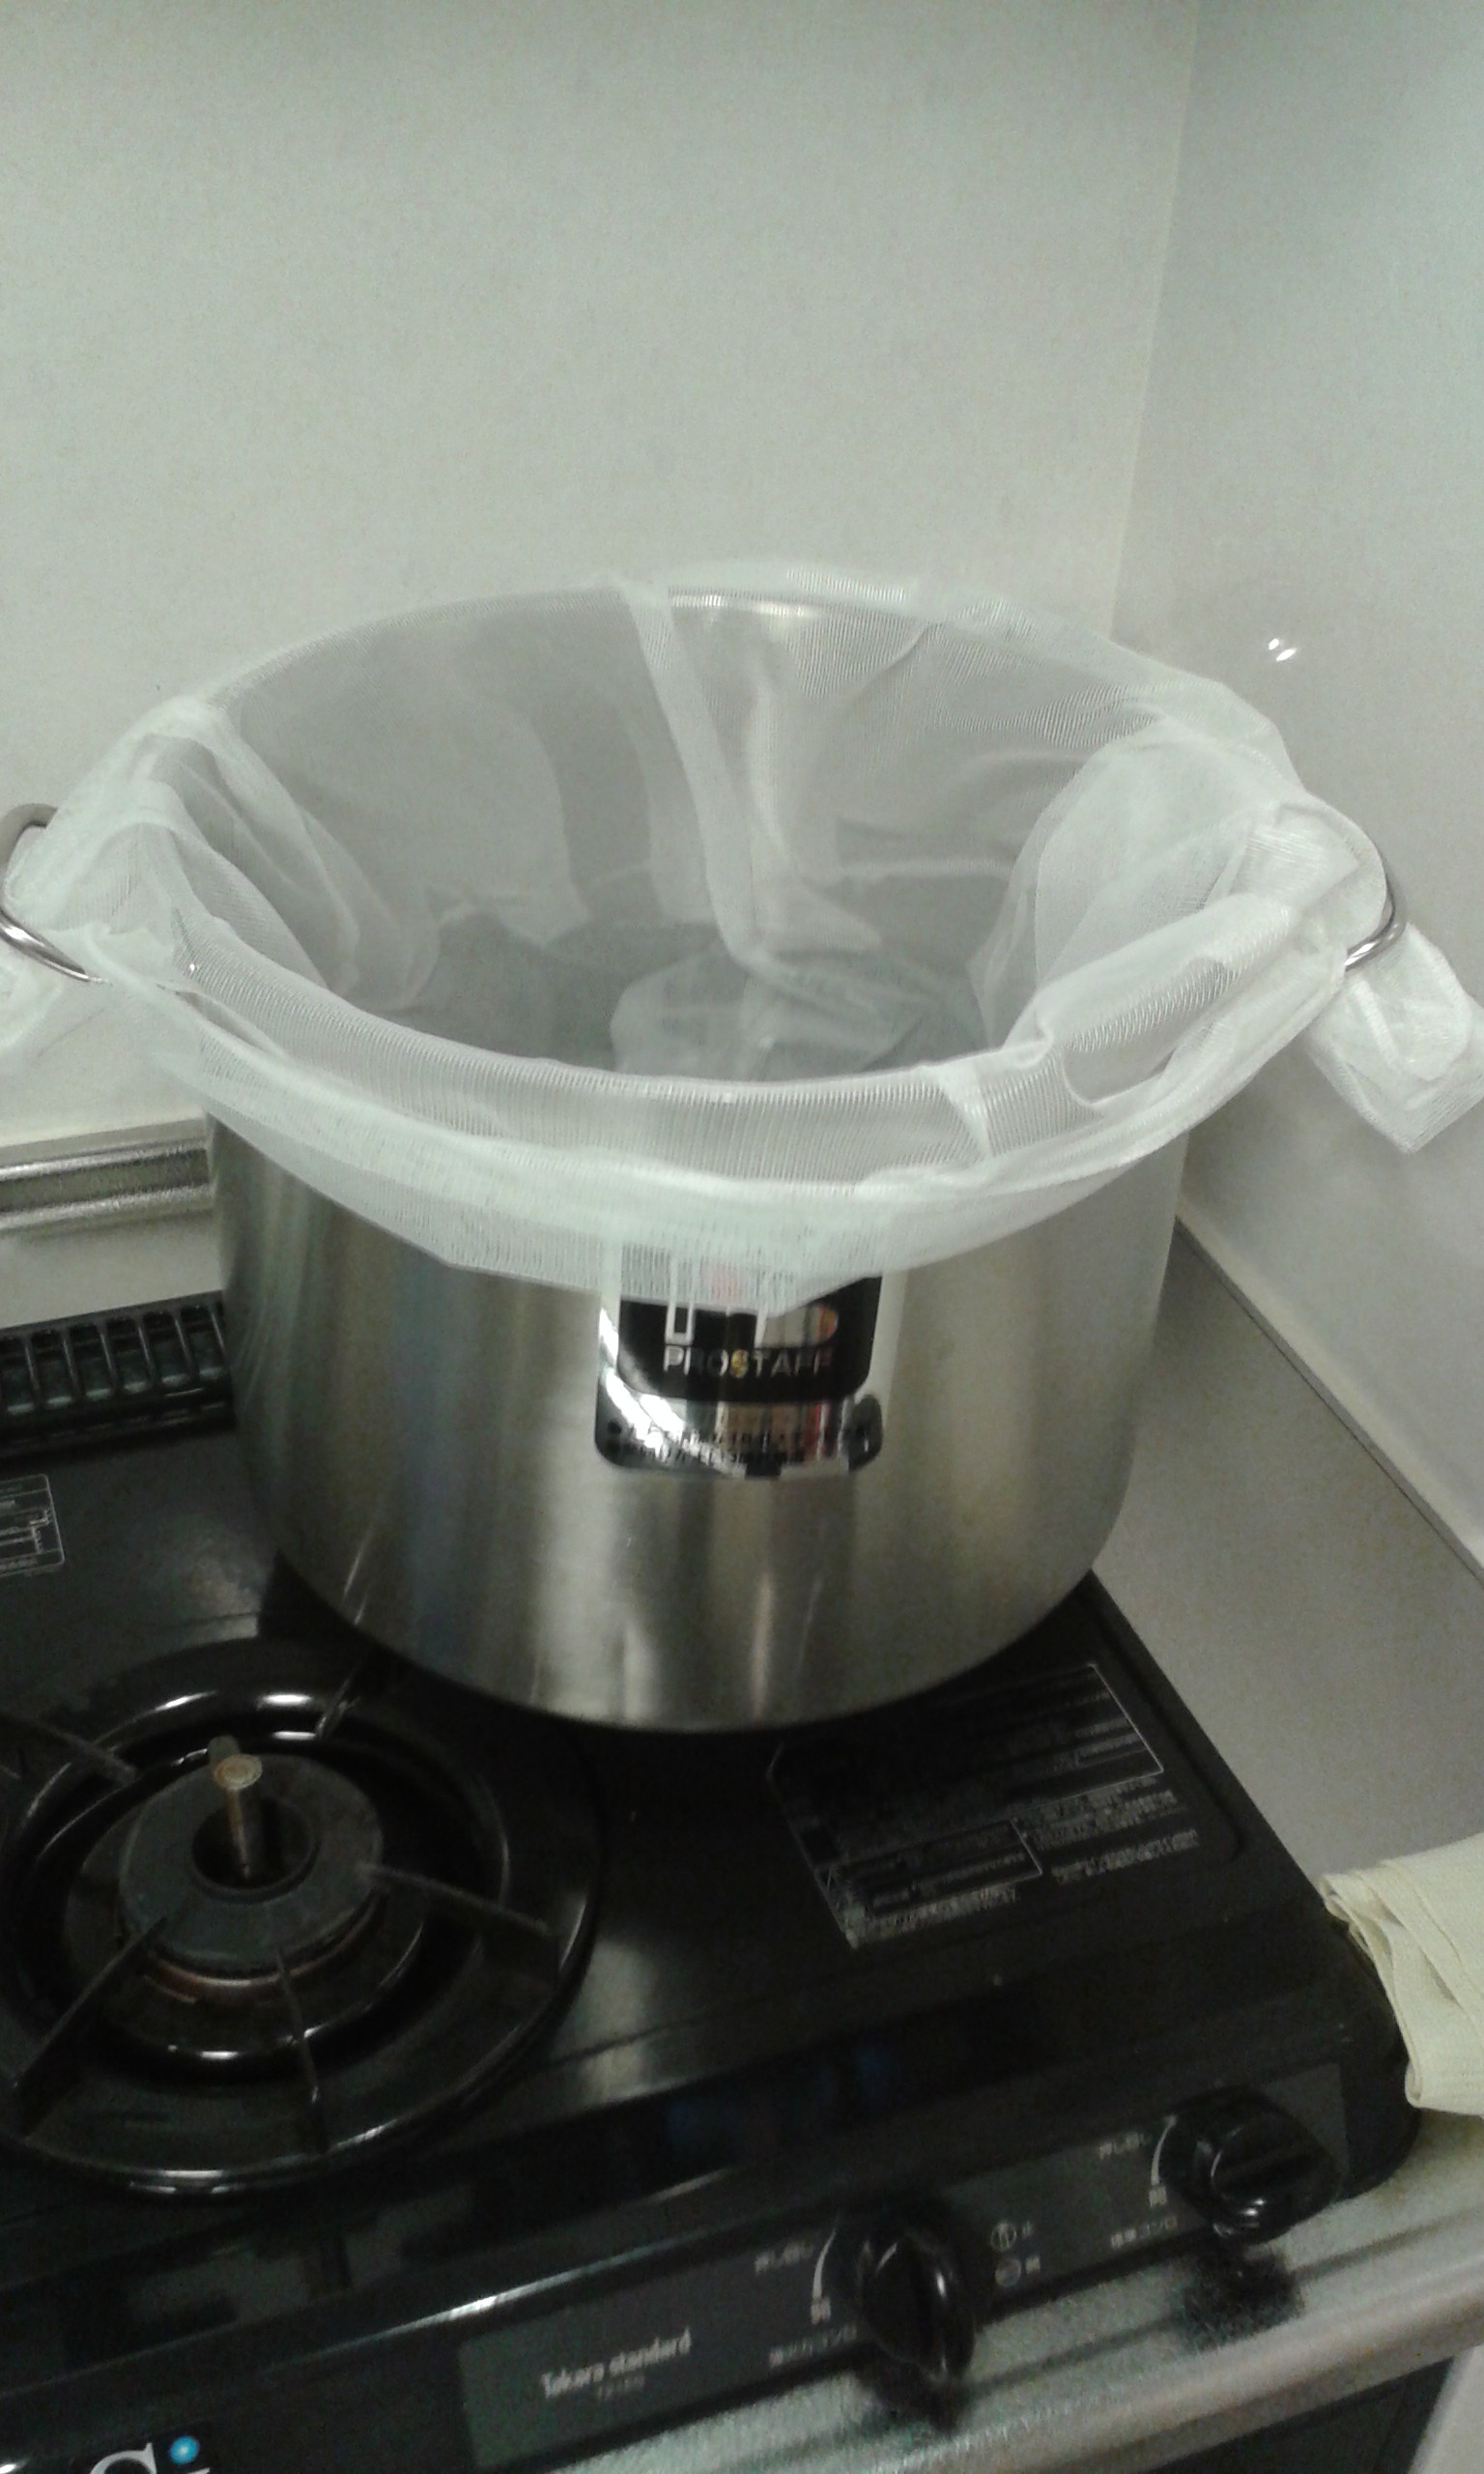
Prepare Your Mash Tun
Place the grain bag into your pot and secure the mouth of the bag to the rim of the pot. This is your ‘mash tun’, where you will mash (mix) your malted grain with hot water. Place your mash tun on the stove.
Add the Water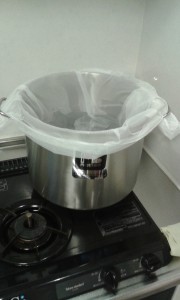
This will involve some maths or a good brewing calculator. You’ll want to heat about 2.5 liters per kilogram (about 1.2 quarts per pound) of grain in your recipe. The temperature you are aiming for (your ‘strike’ temperature) is going to be higher than your actual starting temp, because adding grain will lower the water temperature. You need to work out the starting temp for your batch. I used 11 liters of water, a strike temperature of 75°C and 4.5 kilograms of malt. I hit about 64°C after adding the malt (I was aiming for 66°C).
Mash the Grain
 This part is fun. You are basically taking the proteins and carbohydrates in the malt and – by using hot water at different temperatures – allowing different enzymes to break the proteins and carbohydrates into small sugars that can be eaten by your yeast. Take your malted grain (if it’s not already cracked, go back and get it cracked) and add it to the strike water. Pour it in slowly, stirring the whole time. Now check your temperature. You are going to need to keep your temperatures constant, and many recipes involve several temperature rises, called ‘rests’. The whole mash usually takes about an hour. Here’s an easy way to do this:
- Keep your burner or hob on the lowest possible heat setting
- Keep your secondary pot full of cold water
- If the temperature falls by 1°C or more, raise the heat
- If the temperature rises by 1°C or more, add cold water and check again
- Hit your next temperature rest by raising the heat
Easy, right?
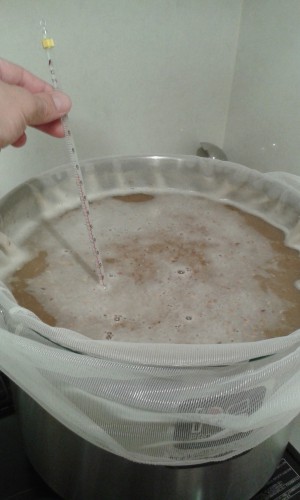
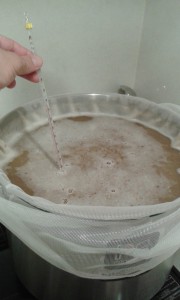
Sparge the Grain
This part is a little harder. Once you finish your final temperature rest, you will need to raise the temperature to 78°C (172°F) to stop any further enzyme activity. Whilst raising the temperature, heat water in your secondary pot to about the same temperature.
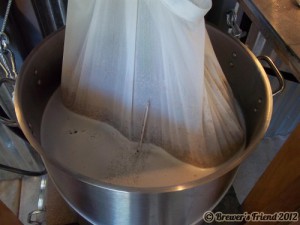
Photo courtesy of Brewer’s Friend
You now need to lift the grain bag out of the pot and position it over the pot – I used an oven tray. Tie the bag so that is it totally closed. Now that the bag is removed, your pot has been transformed into a kettle! To ‘sparge’ literally means to ‘rinse’. We will pour the water from the secondary pot over the grain, draining it into your kettle. Repeat the process until the kettle is full. You can now dispose of your grain (but keep the bag).
The Boil
I love this part! Get the whole kettle to a good, rolling boil. Do not keep the lid on – there are several bad flavor compounds that will evaporate during the boil, and keeping the lid on will trap them in your beer! Add hops to your hop sock as per the recipe instructions.
The Chill
You can just let your kettle full of beer sit, but it’s not a good idea for three reasons. First, your 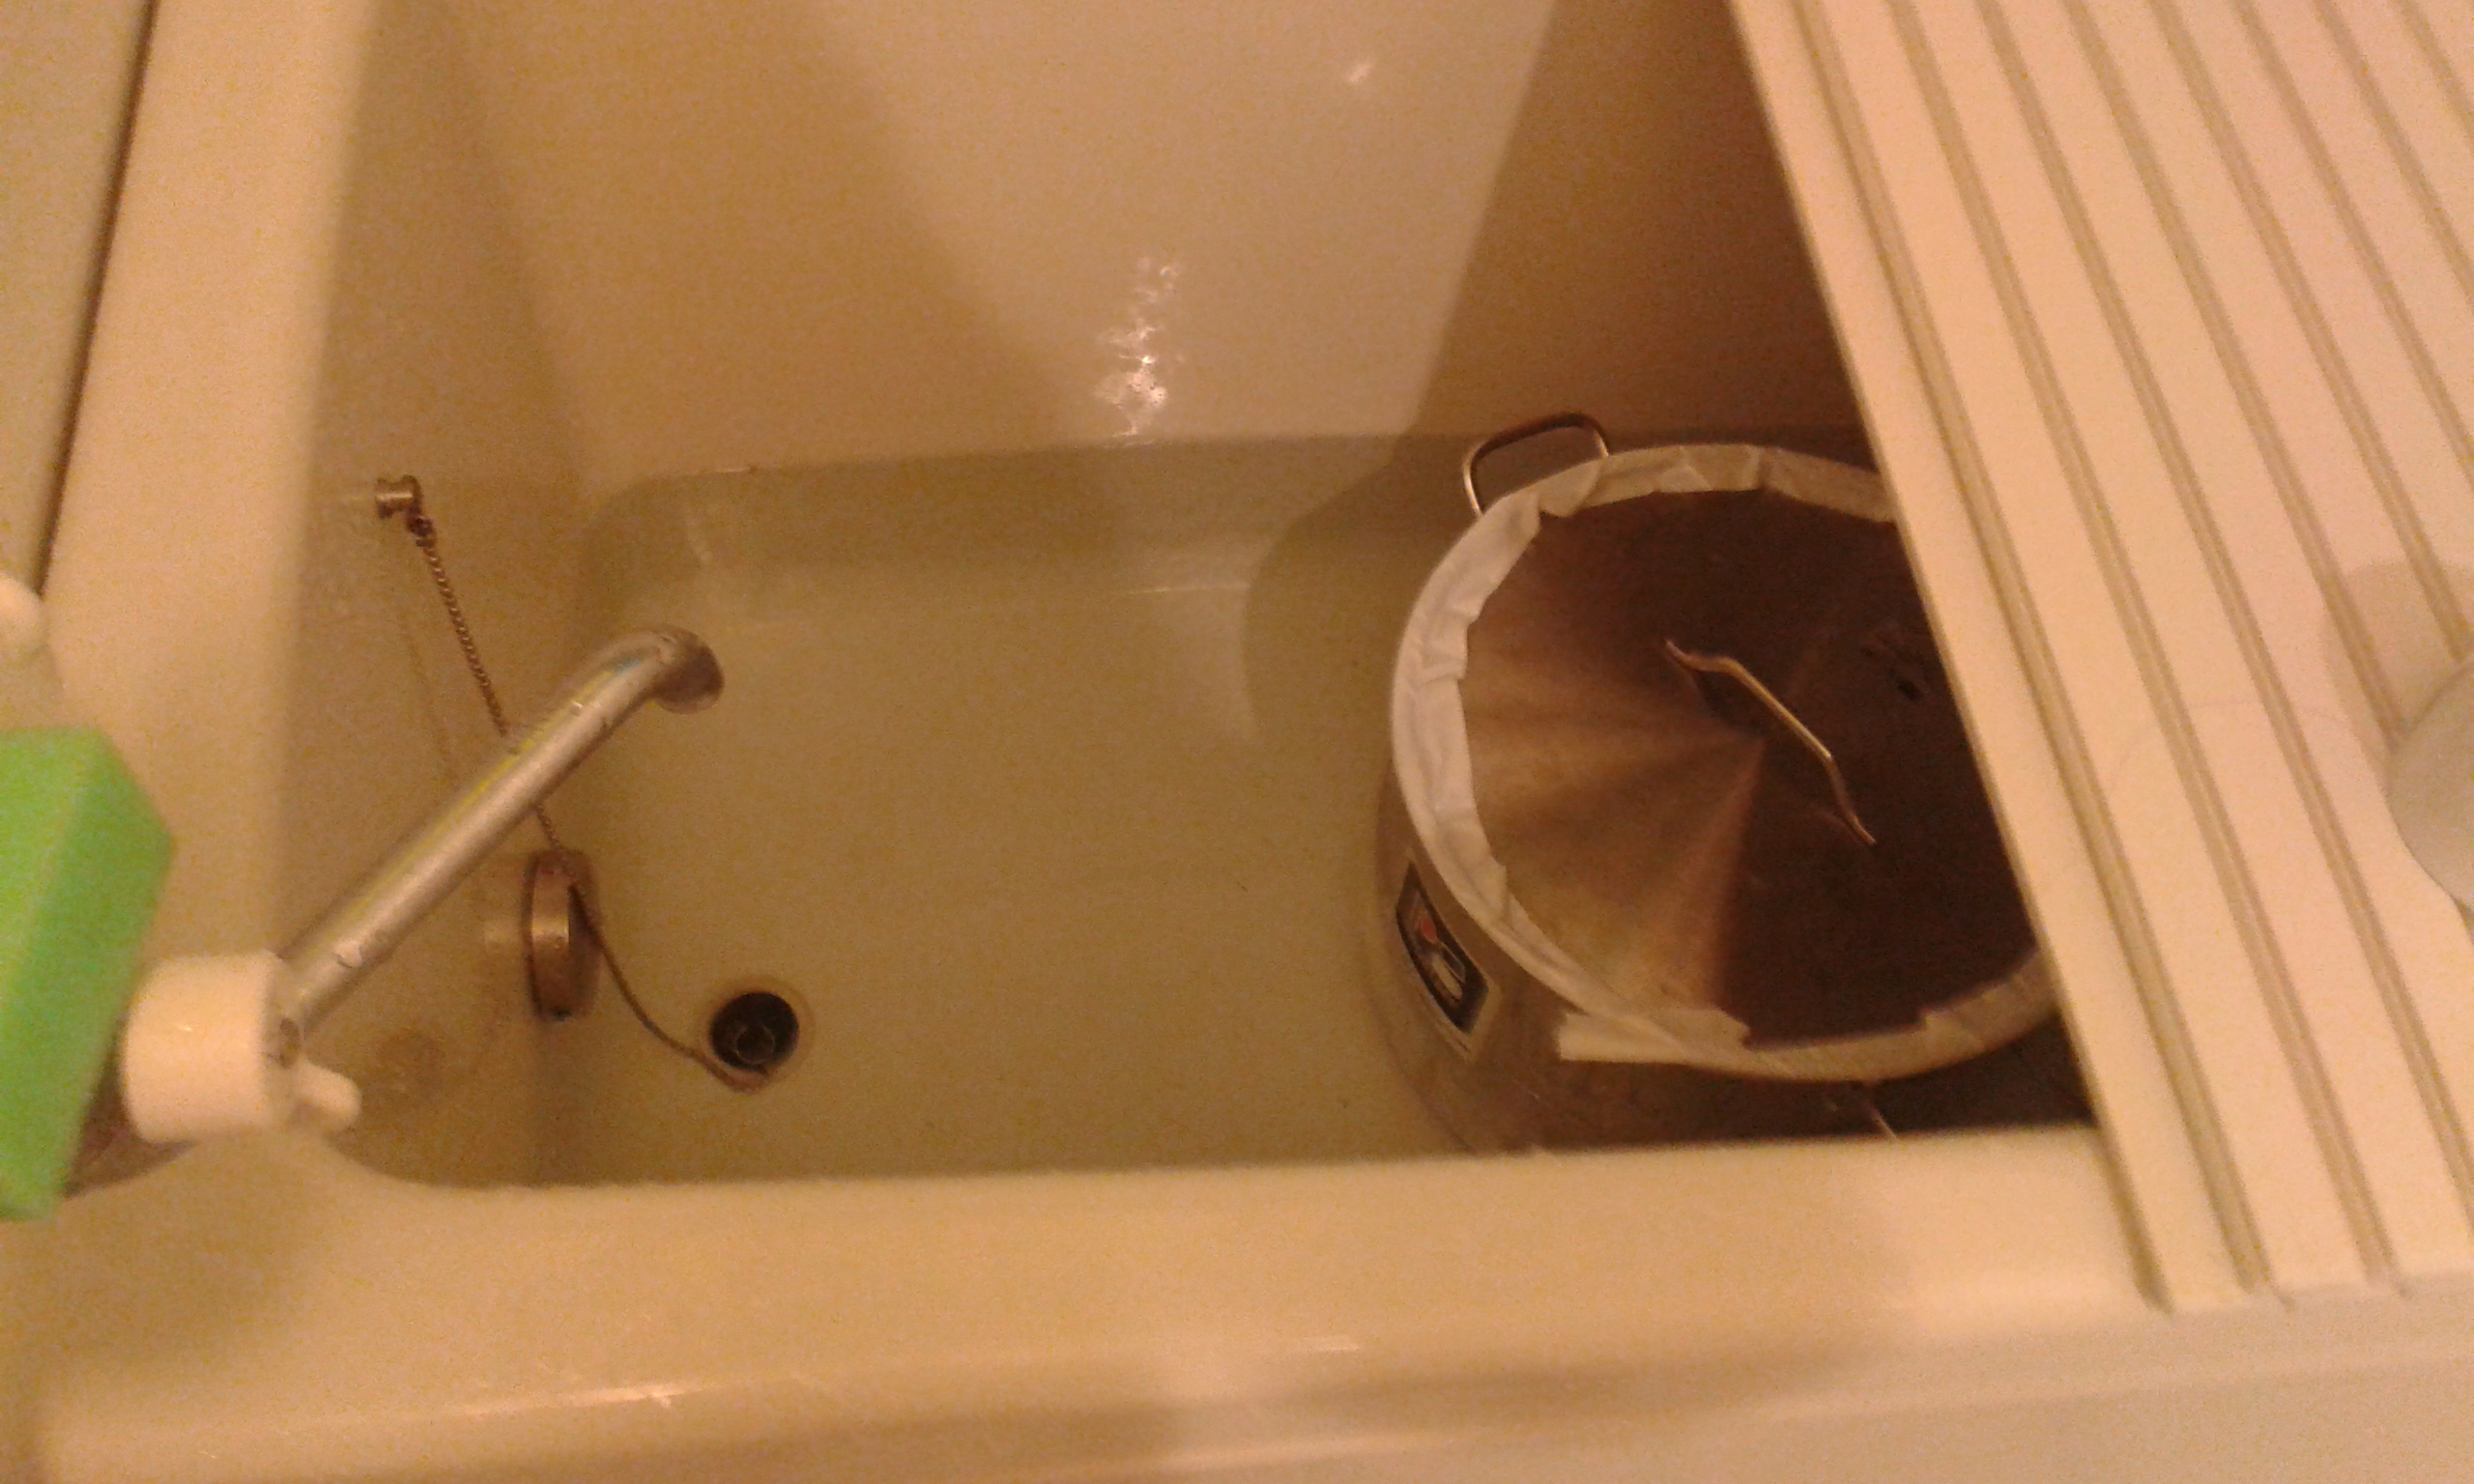 late-addition hops will convert into bittering instead of staying aromatic. Second, you may have some of those bad flavors leech back into your beer. Finally, the longer you leave warm wort sitting in a pot, the more chance there is of it getting infected. The easiest way to chill your beer is to seal the lid to the pot and place it in a cold bath (or an ice bath if you can). Do not submerge the pot – leave the top above water.
RELATED: Common Mistakes When Keeping Beer Cold
You’re Done!
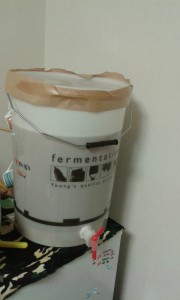
Pour your wort into the fermenter at your desired strike temperature, check your original gravity, and add the yeast!
 Cheers!

So there you have it: simple all-grain brewing instructions for a cheap and simple all-grain brew system! If you want to get yourself a BIAB kit, look at my BIAB equipment comparison page. If you have used BIAB or you want to ask a question, please leave a comment below.
Read Next: Surprising Brewing Beer Ingredients
Hi JessHop: So great to be able to produce your own high quality beer using the BIAB system (Beer in a Bag Solution). Thank you for sharing.
Just a couple of questions. Why do you sparge, won’t the rinsing dilute the taste of the beer?
From what I can tell a “wort” is the finished brew? correct?
What do you feel is a common mistake that first time brewers make on their first batch of beer?
Pat
Hi Pat, thanks for your comment.
Sparging does dilute the wort, but it also releases the remaining wort that is trapped in your grains (about one-third!) Modern brewing recipes are written to allow for the sparge.
Wort is the liquid produced during the brew but before the yeast is added.
The most common mistake? Probably the bottling process!
Hi Jesse! You have a great story, and I love the idea of your website. As a beer consumer, this post made me appreciate (even more) every great brew I have ever had the pleasure of tasting. Although you have done a great job of explaining the process in steps and pictures, I am certainly not ready to try this at home. I will, however, consider buying that book for my brother-in-law, an aspiring home brewer. Great post!
Thanks for your comment – check my ‘recipes’ page for details on where to get the book. If this looks a little intimidating but you do want to try making beer, there are easier ways that I will cover soon. Please check back!
This was some awesome information. I’ve been wanting to learn how to make my own beer. I’ll have to continue checking out all your great info so I can learn. So what kind of beer does this make? Like just a wheat beer, or an IPA?
Hi Luke,
Thank you for your feedback. This system can handle any style of beer, you just adjust the recipe accordingly. There are some techniques that it can’t do easily, but if you are starting out it should fit your needs.
I would like to find some recipes that I could be used. I would like to know how many grain bags I will need. I really appreciate all of the help that you have given on how to make so many recipes.
Hi Siaosi,
Just a single grain bag, big enough to hold your total grain bill. As for recipes, I recommend some books like “Beer Captured” by Tess and Mark Szamatulski.
Have fun brewing!