


After being abroad for a couple of years and unable to brew, I recently arrived back in Australia ready to get something into the fermenter. I figured since I would be doing some maintenance when I got all the gear out of storage, why not take the opportunity to make a few upgrades.
I knew I wanted to brew lagers – which I couldn’t do on the old system. I knew I needed to step up my home brew game and finally make the switch over to kegs and a temperature controlled space for my wort. I figured I would make a kegerator – a place where I could not only serve cold beer on draft, but also ferment and lager beer.
In this article we’ll look at how I made a kegerator for fermenting and serving beer. We’ll go through the bits and pieces you need as well as how to do it.
How does a kegerator work?
The purpose of a kegerator is to keep an enclosed space (refrigerator) within a tight temperature range. You want to be able to change and hold temperatures depending on whether you are fermenting, lagering or serving. The way we achieve this very specific temperature control is by introducing an external temperature controller with a probe that monitors the temperature of the fermenting chamber (inside your fridge).

The controller has two sockets: one for the fridge and one for the heating source. The temperature controller will activate either the refrigeration unit or the heater according to how you set your controller. The range of temperatures most brewers will use in a kegerator is between 0 – 25C.
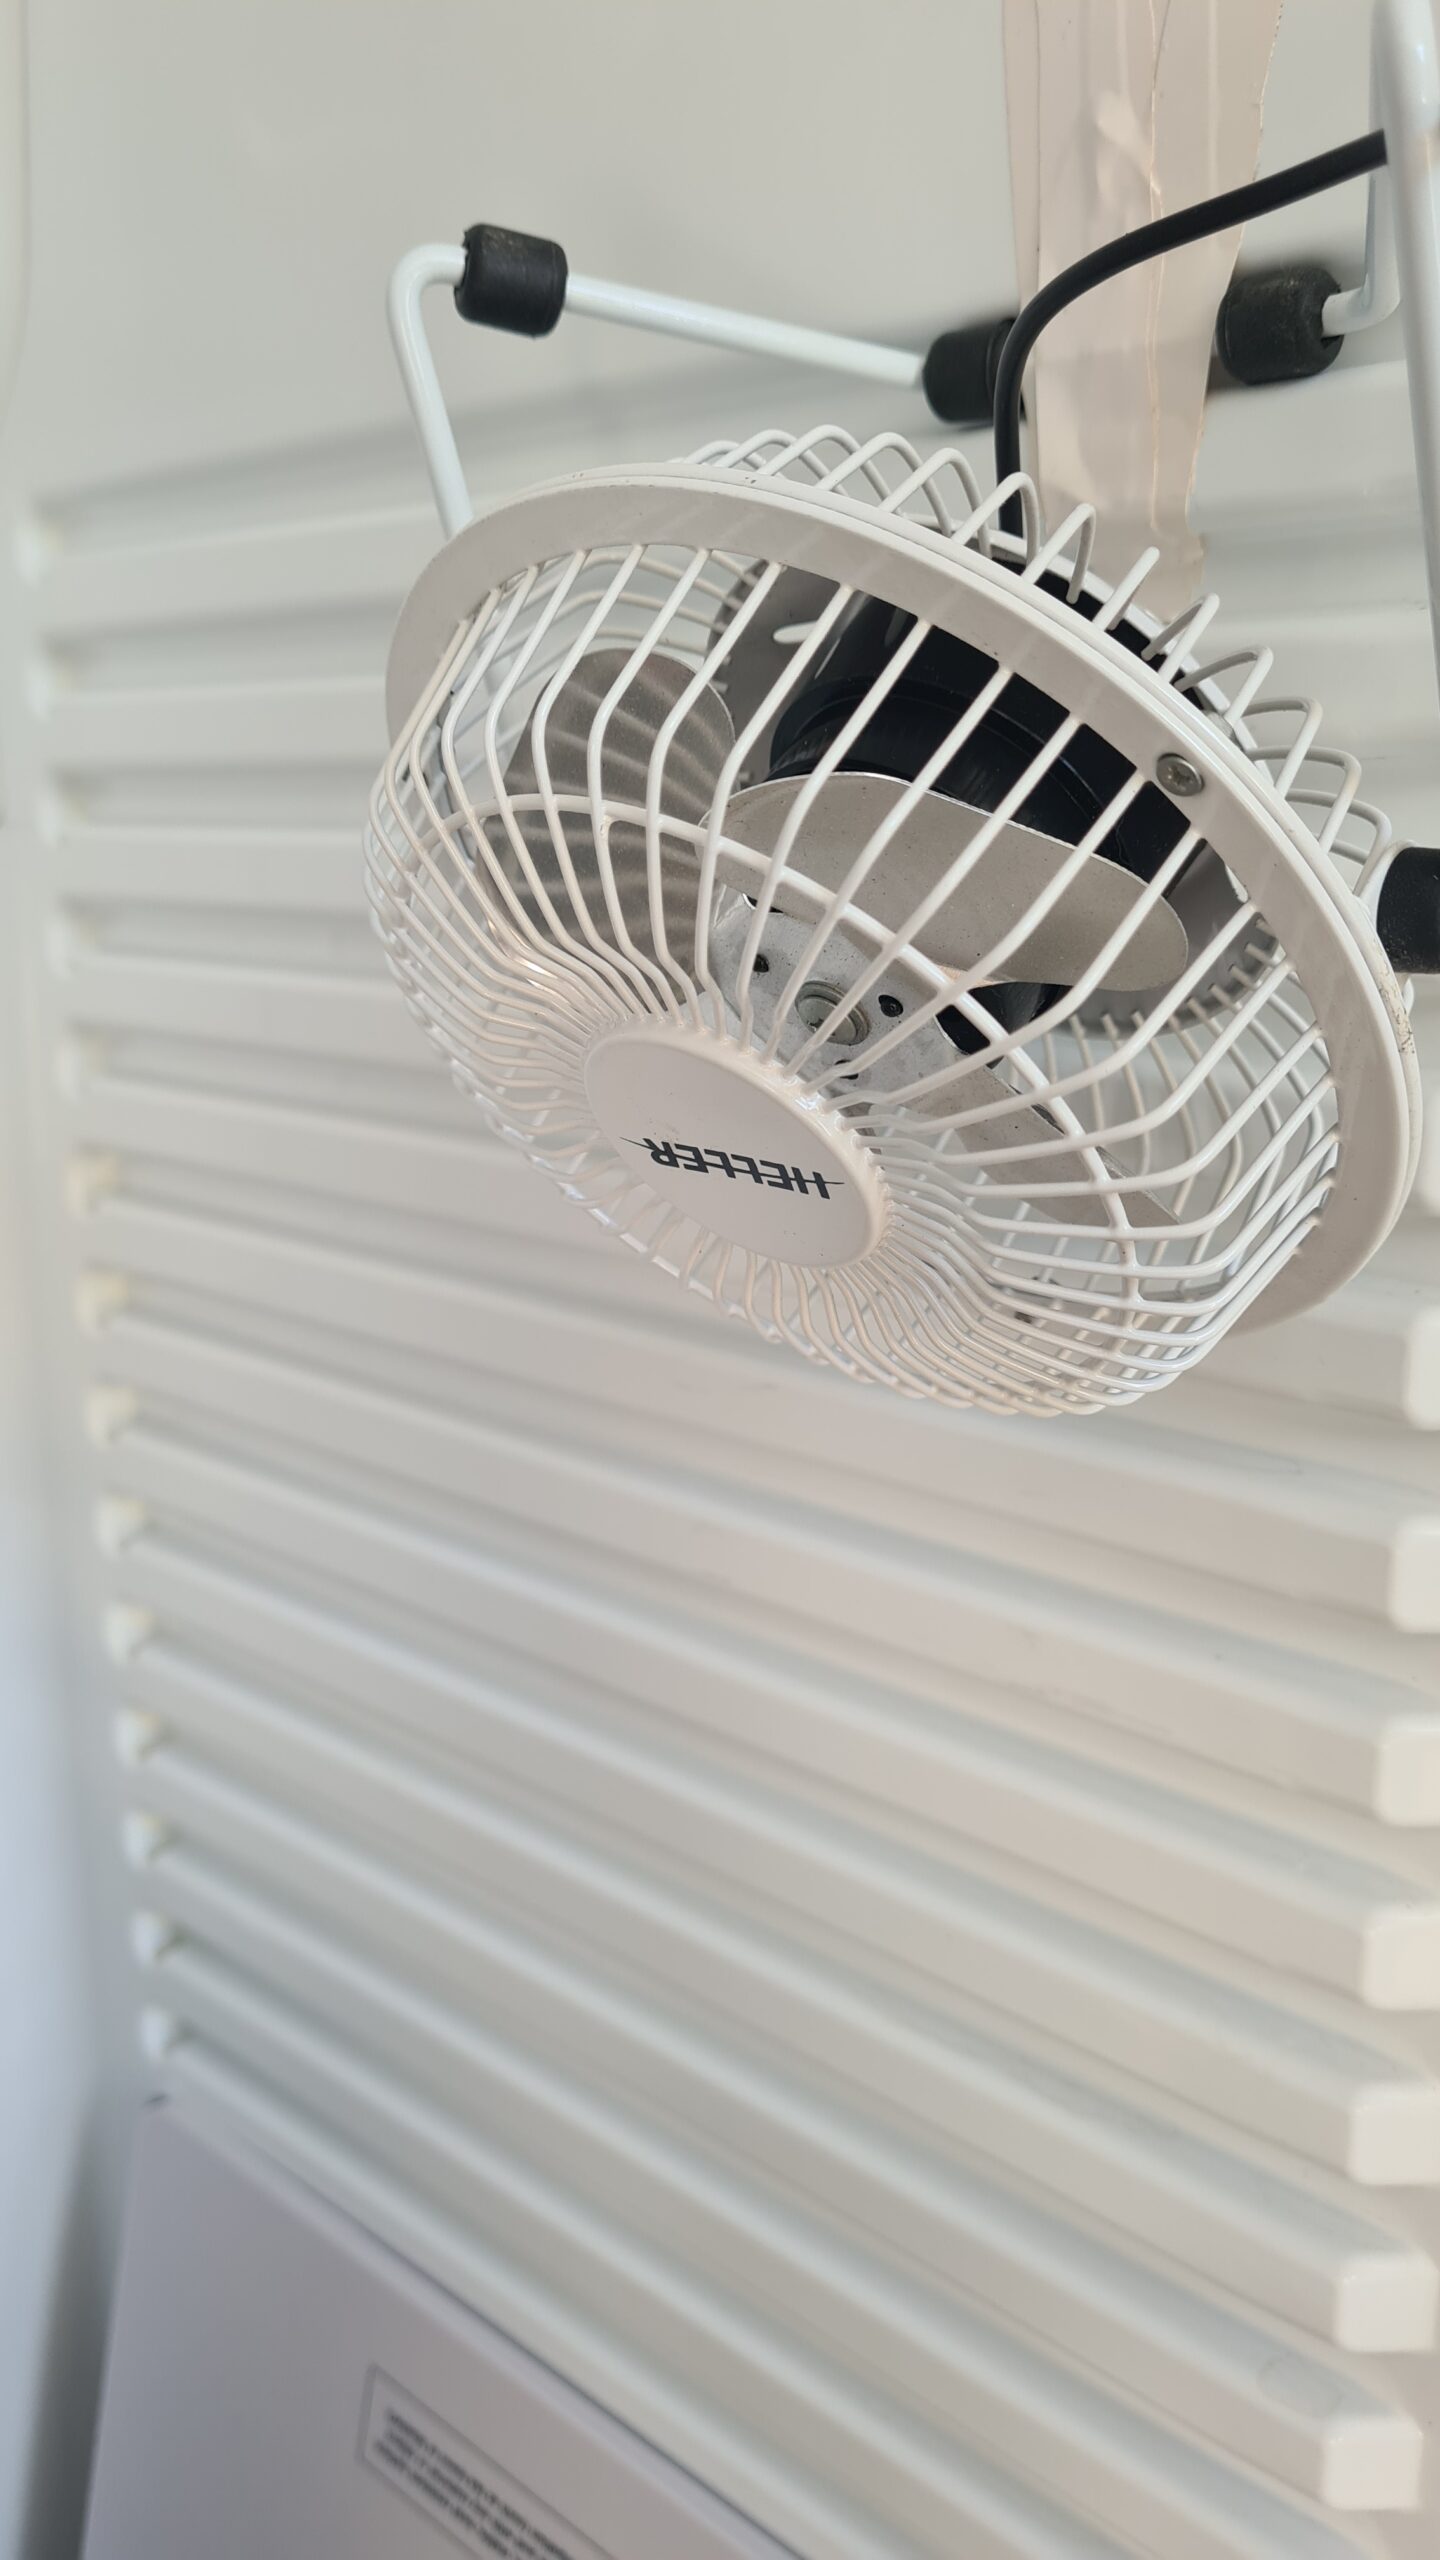
A crucial and often overlooked element of kegerators is air circulation. The heating, cooling and endothermic reaction of your yeast can create hot or cold pockets in your chamber. To ensure even heating and cooling and an accurate read on your temperature probe, you should agitate the air periodically for good circulation.
There is also a C02 draft system which will allow you to carbonate and serve your beer. It uses a tank of C02, a regulator and taps to carbonate and serve your latest home brew creation It’s important to keep in mind that if you don’t have separate fridges to ferment, lager and serve, you may have to pause serving for a week or so while you ferment you next batch.
CHECK OUT: How to Filter Beer
Equipment
The kegerator is essentially a fridge with extra parts – so this is a good starting point for purchasing equipment. Think about the size and type of refrigerator you’re looking to buy. Make sure it has enough room inside to fit your fermenter, kegs or mix of both. You can find plenty of good fridges online for cheap. Keep in mind that if you buy an older fridge for a cheaper price, it may cost you more in the long run – old fridges tend to suck more power.
You’ll also need equipment for temperature control: a heat source (I use a fermenter heat plate I had laying around), a small circulation fan (a USB fan bought online) and a temperature controller (I bought an Inkbird brand controller).
You’ll want a way to get your cold beer out of kegs and into glasses. For this, you’ll need a serving system. The specific equipment that you need will depend on how you set up your system. I went with what most home brewers use: a cornelius keg set up. To set this up you will need a bottle of C02, taps, a regulator for controlling the flow from your C02 bottle, beer line (I used 5mm internal diameter), connectors for beer and gas line, check valves, crimps for where your line plugs into your other components and a “shank” that goes through your fridge door and screws into your tap. You may also want a drip tray for the exterior of your fridge.

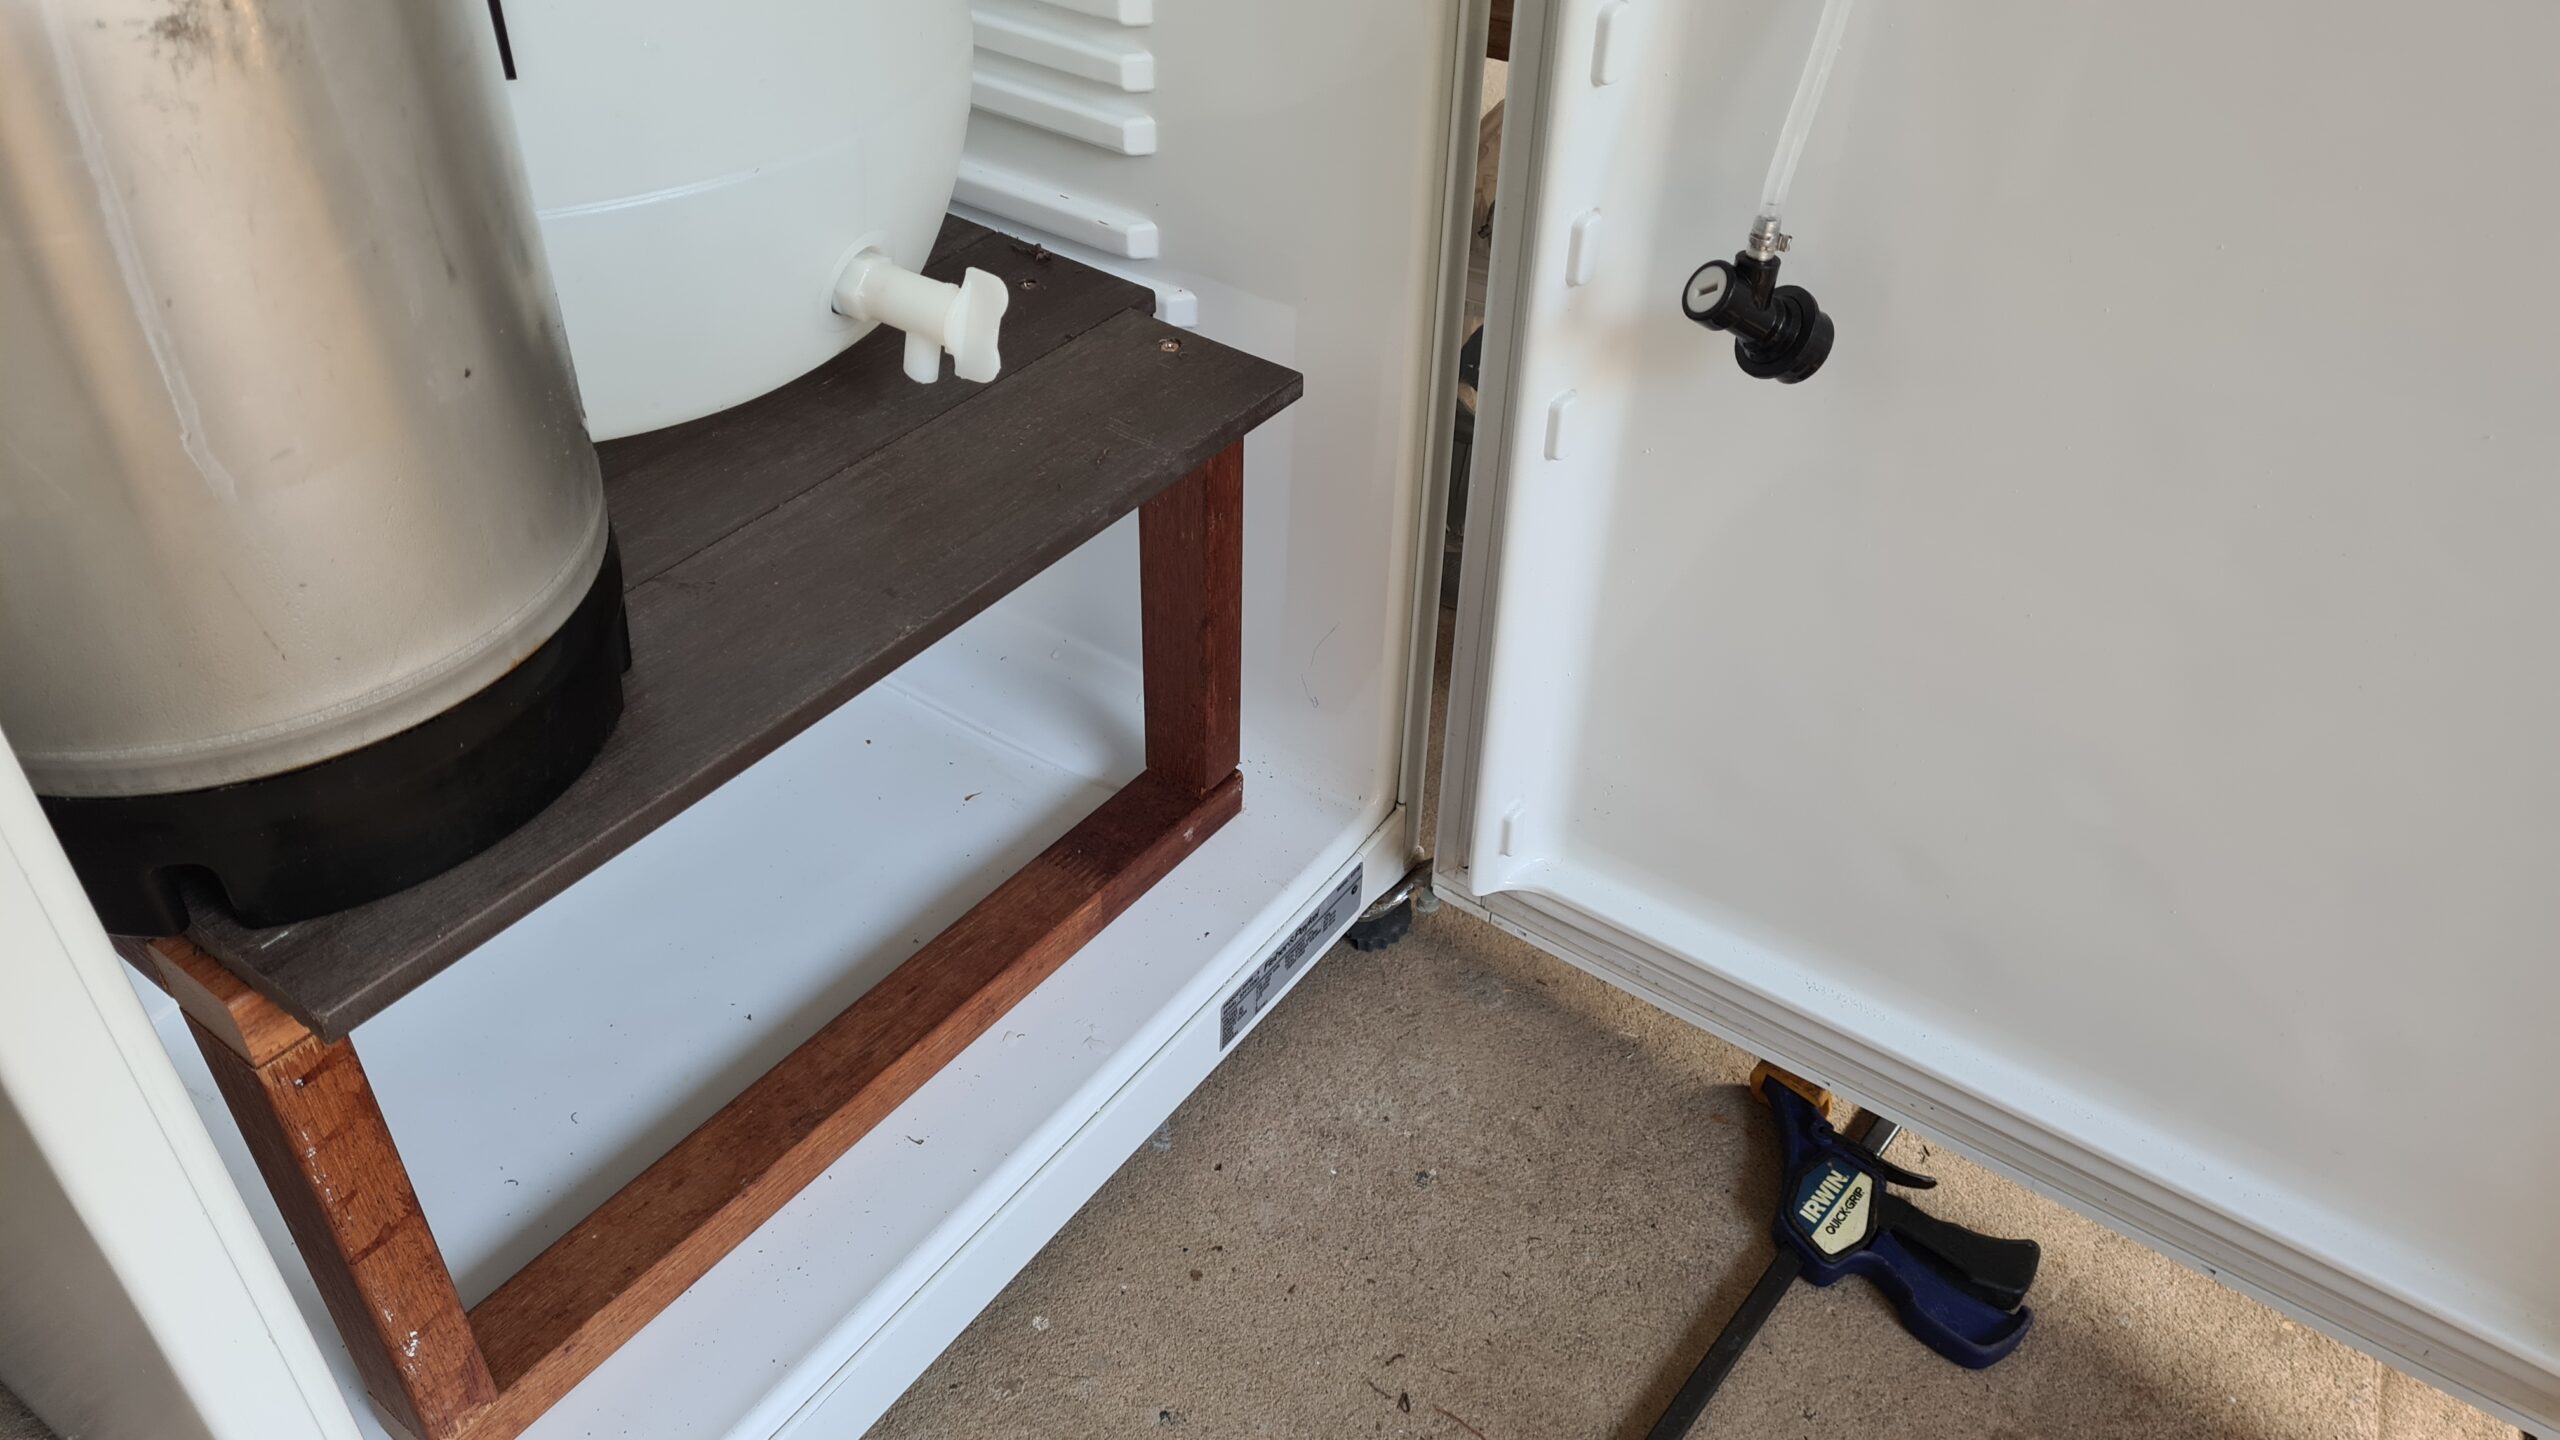
Remember that brewing involves a lot of liquid and that liquid is heavy. You will likely need to modify your fridge a little to take the weight of any fermenters, kegs etc. that you put in there. Slide out the glass shelving and make a fermenter platform that will take the weight of your gear. Exactly what this platform looks like will depend on your fridge. I used Australian hardwood for supports and “planks” of compressed plastic fencing designed for hard outdoor wear. When choosing your materials remember that at some point, they will get wet – make sure it’s easy to clean and water resistant.
Tools
There are only a few tools you will need to get the job done. Some of these tools are optional but will make your life much easier so worth the small outlay in my opinion.
First, you will definitely need a good quality drill and bits. You need to be able to drill through both metal and wood (depending on what your fermenting platform is made of). The most important bit that you are likely to use is the hole-saw for making space in your door to fit the shank through. For my particular size of shank, I used a 22mm (7/8″) hole-saw bit. Don’t forget to make sure your drill batteries are charged if it’s not a plug-in drill.
Another essential is a tape measure. Accuracy on some of your cuts and drill holes need to be exact, so make sure you have your measuring tape and a ruler nearby. You will also need some dry-erase markers and/ or a pencil for marking.
For cutting tubing, making holes in fridge seals, and a bunch of other small jobs, you will need a sharp blade like a box cutter or Stanley knife. You should also have a good pair of scissors handy. Keep all blades clean and remember to always cut away from yourself.
Some tools that I found useful (but you can get away with not buying) are a crimping tool for attaching your crimps to gas line, a spirit level for levelling surfaces and a caulking gun (with food safe silicone sealing compound). I also used a drop-saw for cutting pieces of wood for my platform – but a regular hand saw will work just as well.
Process
The first thing to do is open up your fridge and look inside. This is the first step of installing your taps and beer plumbing. Put your kegs and fermenters inside to get an idea of how everything will fit. Remember that your fermenter and kegs will need good clearance above them for tubing and airlocks. Once you’re satisfied with how the gear inside is set up, choose a spot for your taps. The taps (I used 2) should be evenly spaced apart and at exactly the same height. You need to be able to comfortably fit glasses between them. They should be installed at a height that is comfortable for serving.
Once you have markings for your taps made. Drill a hole through the door and install your shanks. The hole should be a fraction bigger than your shanks – the tighter the fit the better. A tight fit means less temperature leakage from your chamber. Once the shanks are in, you can screw on the taps per the manufacturer’s instructions. Now it’s starting to look like a kegerator! Just remember to never drill through the sides and back of your fridge. This can risk rupturing your refrigerant line and rendering your fridge useless. If this does happen, it is possible to get the fridge repaired but it may end up costing more for the repair than you paid for the fridge!
Next, set up your C02 system. Screw on your regulator and connect it to your manifold (if you are using one). From the manifold you will connect a “gas in” line to your kegs via a pin lock connector.
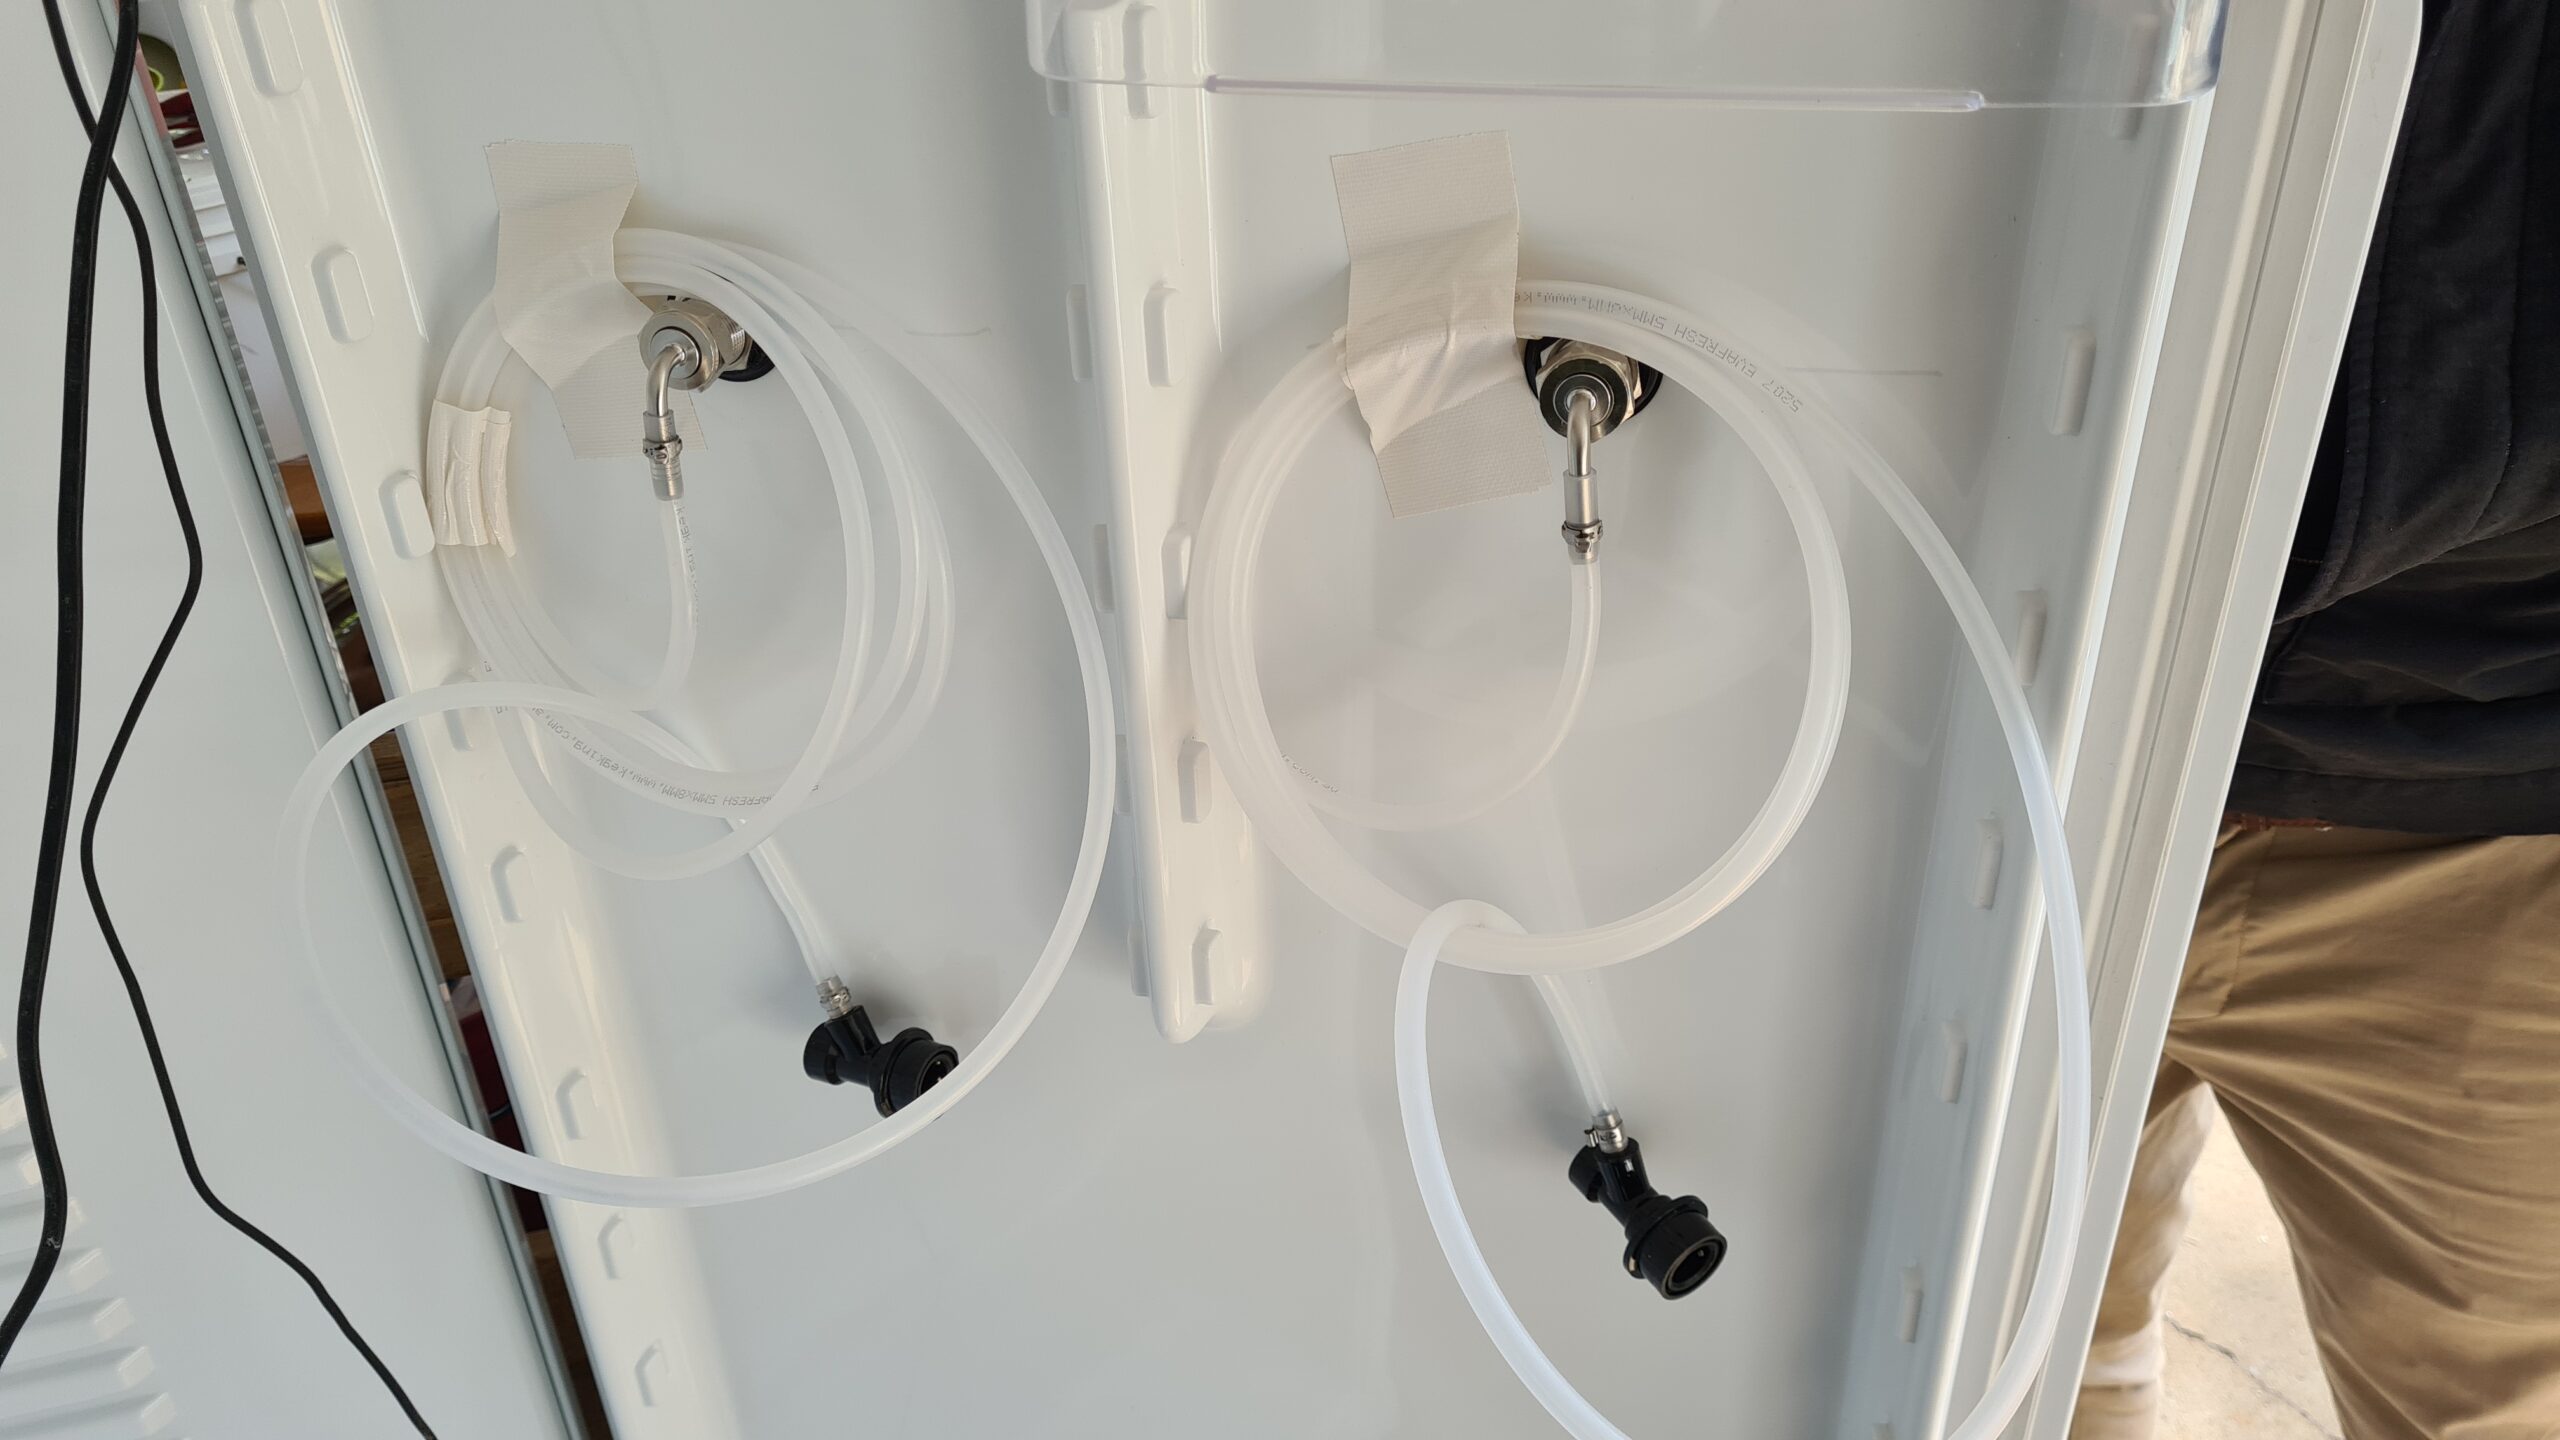
Then you will need to connect a “beer out” line from your keg to your tap. This line will need to be at least 2-3 metres to ensure the beer slows a bit before hitting your taps. There’s a bunch of science behind this, but basically if your beer comes out of a really short line, it will fizz and foam in your glass. Make sure all your beer and gas line connections are made with crimps so you don’t lose pressure. All beer and gas lines should be clean both inside and out.
Connect up a keg in your kegerator and set your serving pressure (I recommend water only for this step). Use this keg to run some water through the lines to check there’s no leaks in your system. Once you’re satisfied with your connections, run some line cleaner through your system per the instructions on the packaging.
Next, we need to install the temperature controller. First, make a small cut in your fridge seal and caulk it with silicone. You want this gap to be just big enough to fit the probe cable, power cable for your heater and fan and C02 line (if you are keeping your keg outside the fridge rather than inside).
When setting the position of your probe, you want it hanging near where your fermenter will be. Some people like to tape the wiring directly to the fermenter so the temperature is a better reflection of the wort temp during fermentation. Next, set up your fan and heater in an appropriate spot, plug everything in and program your controller.
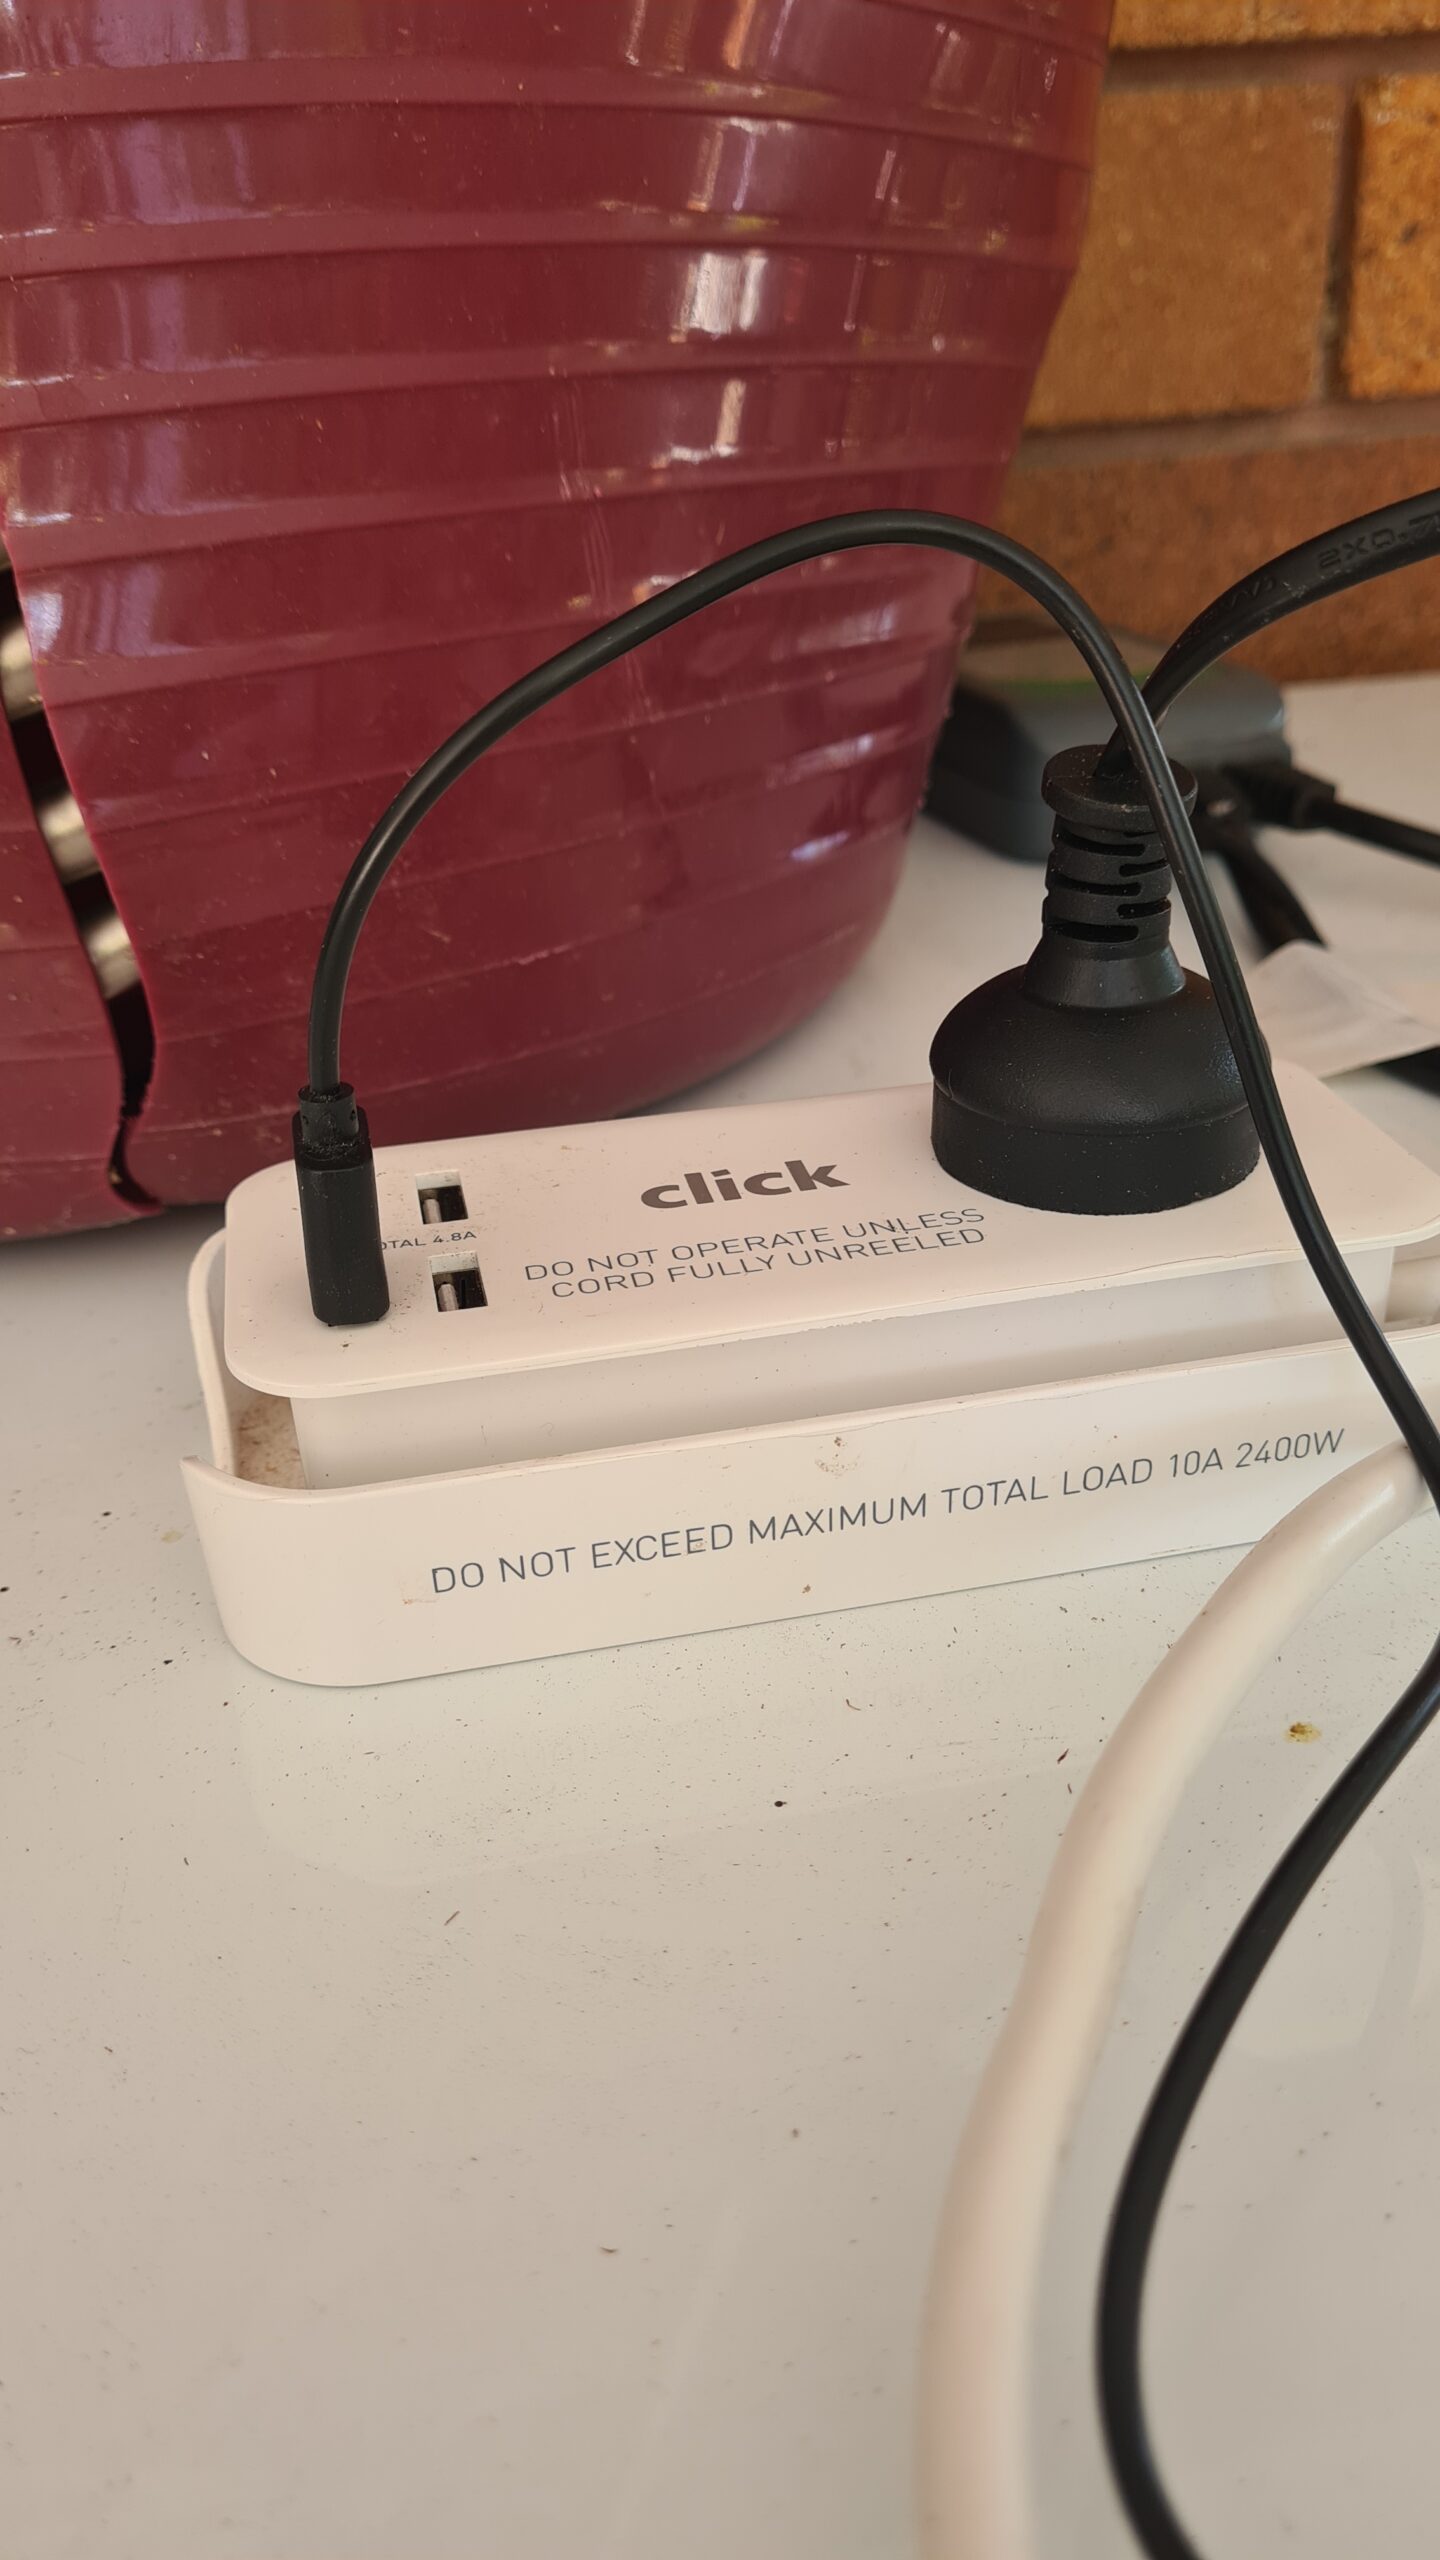
A note on the fan: the fridge I used had a fan in-built however it only switches on while the cooling circuit is activated. It’s important that you have some circulation while the heater is on as well. I got around this buy using a single power socket with USB output and used this for my heating circuit.
Related: Home Made Vs. All-In-One Brewing Systems
The last step is building a platform inside your kegerator. Unless you’re doing small batches, chances are that the glass shelving will be insufficient to hold your fermenter, kegs, C02 bottle etc. Take the time to build a sturdy platform that will hold whatever you put in there. Using a saw, screws, (clean) scrap hardwood and some dense builders plastic, me and my dad engineered a little platform with supports to disperse the weight of our fermenters and kegs. The exact design will vary by the model of fridge you bought and what materials you want to use.
To properly test the system, I filled a cornelius keg with water, charged it with C02 for a couple of days and let her rip. I must say, the satisfaction of seeing the system working was immense. I can’t wait to get some proper brew gear going through the lines!

That’s how I created my kegerator. You may want to do it differently but hopefully this has been a useful guide. Stay tuned for updates as I fill it with kegs of beer and try brewing my first ever lager.
Cheers!
Read Next: How To Carbonate In Mini Kegs, All in One: Electric Beer Brewing Systems and The Best Foods To Pair With Cold Beer