


So your latest batch of homebrew has finished fermenting. You’ve checked that the gravity is steady and you’re seeing something in your fermenter that is starting to look like beer. What next?
In this article, we’re going to look at how to bottle your homebrew using the popular bulk priming method.
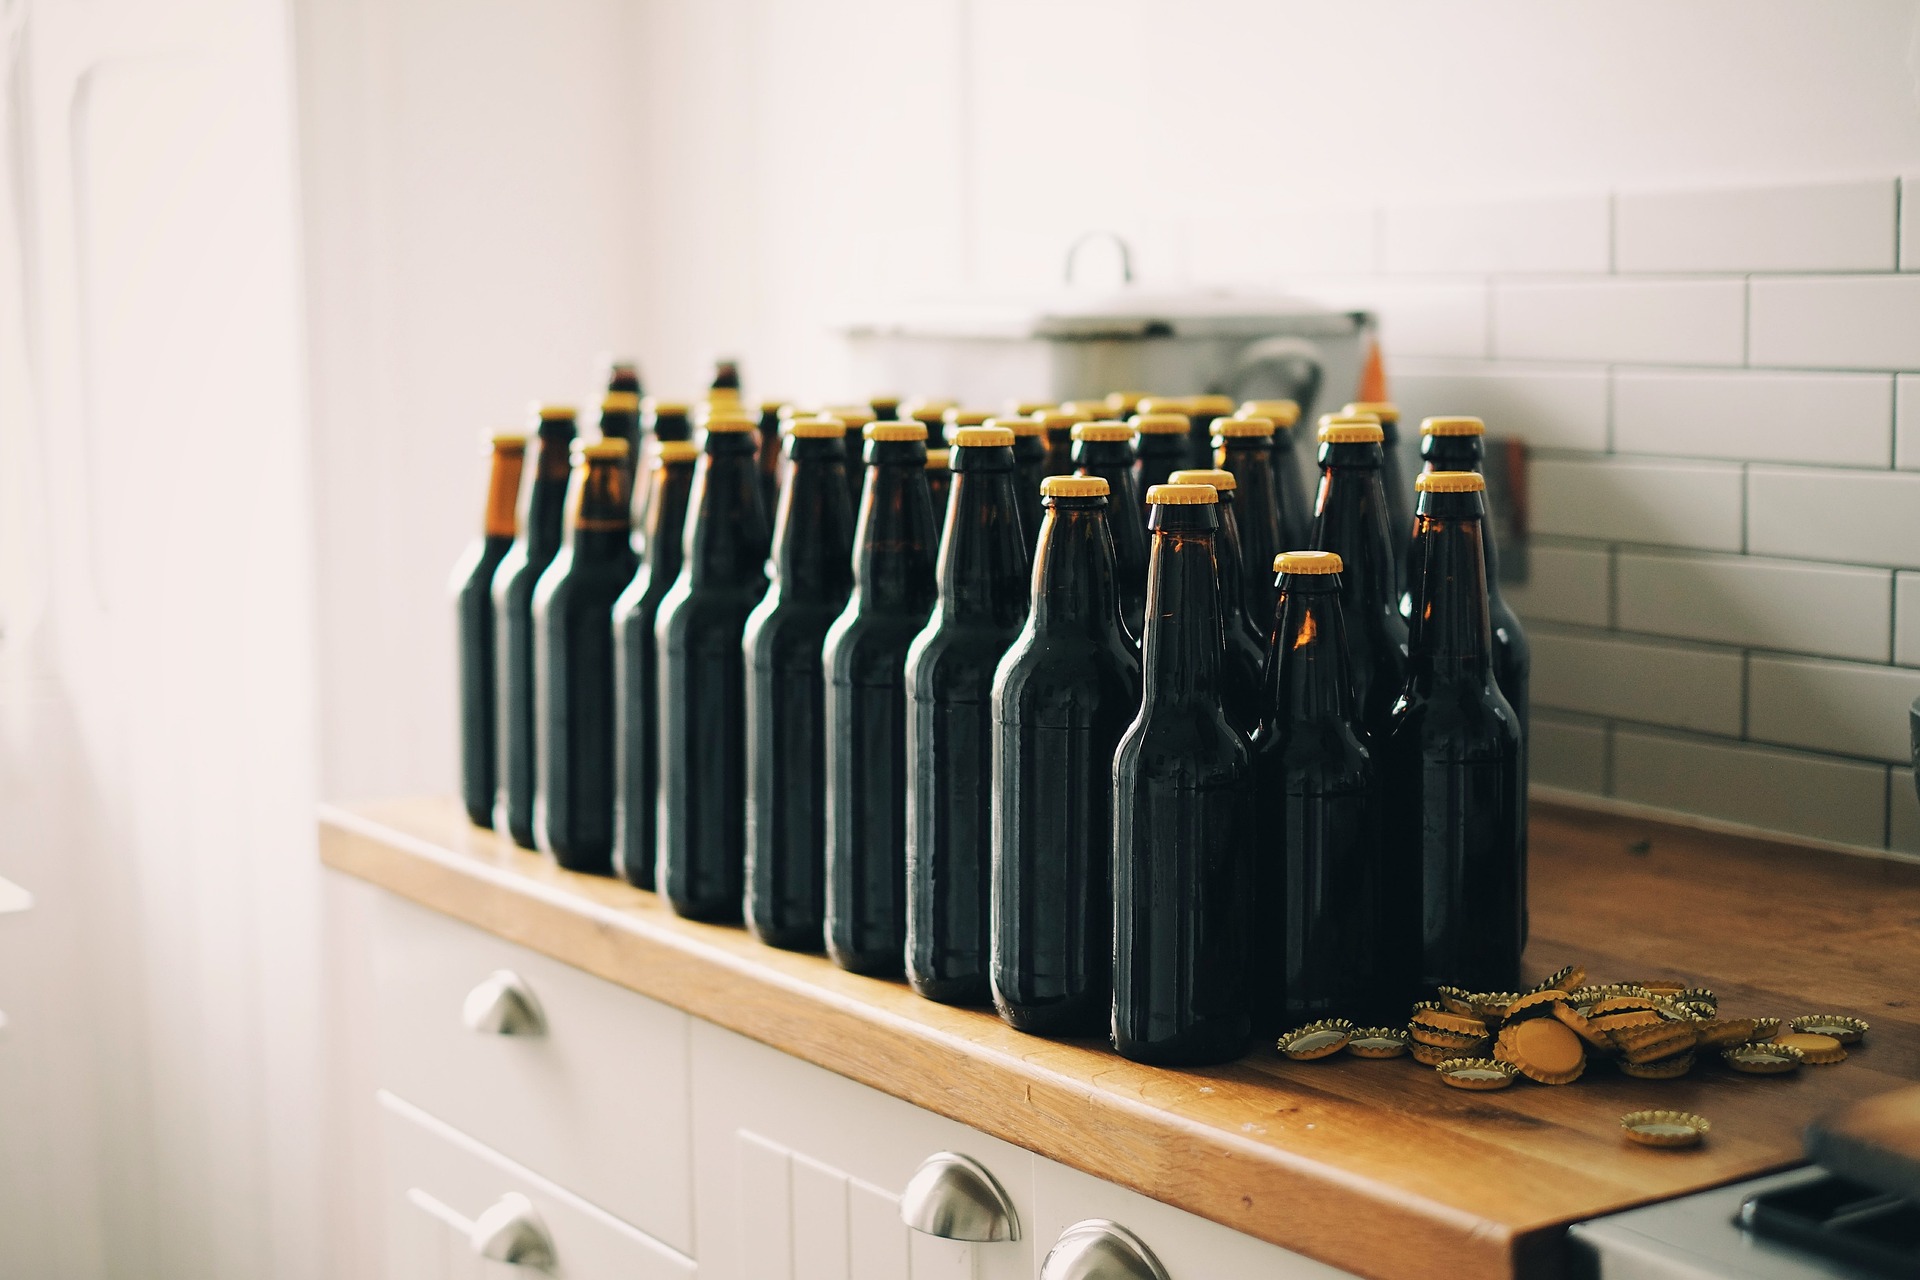
Why bottle beer?
We all know that there’s nothing quite like a draft beer. Unfortunately setting up a keg system can be costly for the average home brewer. You need to buy lines, gas, kegs, and fittings and invest in a way to keep your kegs at serving temperature. Bottling beer allows us to bring a few of our brews to a friend’s house or BBQ without lugging around a full C02 serving system.
A simple way to bottle your beer is using the bulk priming method. Bulk priming refers to adding a small, exact amount of sugar to your beer before bottling to reactivate the yeast and reach the desired level of carbonation. With bulk priming, you’re creating a secondary fermentation in the bottle that creates C02 and gives our beer its fizz!
Equipment
Before we start bottling, we’ll need to make sure we have a few pieces of basic equipment. This list below covers everything you’ll need to bottle up your latest brew:
Sanitiser: Like all other stages of the brewing process, sanitising is extremely important. As always, anything that will come into contact with our brew needs to be sanitised per the instructions on your particular brand of sanitiser. This includes the bottling bucket, bottles, hoses, caps etc. I recommend a “no rinse” sanitiser like StarSan for bottling and brewing.
Bottling bucket with transfer hose (or racking cane/ siphon): You’ll need a second vessel for bottling, commonly referred to as a “bottling bucket”. This vessel will be where you mix your brew and the priming sugar and should be at least as big as your fermenter. Any food grade bucket will do, but I suggest using a fermenter or other container with a tap at the bottom – that way you can eliminate the need for pumps and siphons. You will also need food grade hose (or racking cane/ siphon) to transfer from your fermenter into your bottling bucket.
Bottling wand: A bottling wand is not essential but will make bottling far quicker and easier. It also reduces the amount of air getting into your brew which is important for maintaining the quality of your beer. The bottling wand connects directly to your bottling bucket and allows you to start and stop the flow of beer into bottles without turning the tap on and off.
Bottle caps: Use caps with an “oxygen absorbing” liner. These are now fairly common and can be bought inexpensively online or at your local home brew store. Ensure caps are clean and free from rust and debris. Never reuse bottle caps.
Bottles: You will need enough cleaned and sanitised glass crown seal bottles to fit all your brew. Ensure you’ve calculated how many you need before you start brewing. It’s a great idea to reuse old commercial beer bottles – just make sure you are using quality bottles with thick glass to avoid breakages after multiple reuses.
RELATED: How to Filter Beer
Capper: You will need a capper to crimp your caps onto your bottles. There are many types out there but I recommend a bench style capper.
Bottle brush: A bottle brush is essential for cleaning your bottles before use.
Priming sugar: There are many different types of priming sugar available. If you are just getting started with brewing or bottling, regular white table sugar will work fine, however if you want to bring your beer to the next level, dextrose (corn sugar) is inexpensive and leaves less of an aftertaste.
Kitchen scales: Accuracy in the amount of priming sugar we add to our batch is absolutely essential. Invest in a quality set of kitchen scales that can weigh accurately down to the gram. A good scale has other uses in the brewhouse like weighing ingredients, cleaner etc.
Small pot with lid: You will need a small, clean pot for boiling your priming sugar in. If you are using a pot from your kitchen, ensure it has been thoroughly cleaned and rinsed – you don’t want your beer tasting like whatever you last cooked in the pot!
Stove: for heating your priming sugar/ water mix
Long handled spoon: you will need a spoon for gently mixing your priming sugar mix into your brew. Stainless steel is best, but glass or plastic (HDPE) will work just fine.
Bottle tree: A bottle tree is not essential, but will certainly make bottling day much easier. A bottle tree allows you to drip dry cleaned and sterilised bottles with minimal contact with other surfaces. Some bottling trees also have an attachment for pumping water or steriliser solution into bottles.
CHECK OUT: All in One: Electric Beer Brewing Systems
Process
Now you have all the gear ready, we will go through each step of the bottling process:
- Prepare your bottles
Calculate how many bottles you will need to fit in all your brew (always give yourself a few extras in case a bottle breaks during cleaning or bottling). Ensure your bottles have been cleaned thoroughly, sanitised and allowed to drip dry. - Sanitise your gear
Ensure everything that will come into your brew is clean and sterile. This includes hoses, vessels, spoon, caps, bottles etc. - Calculate priming sugar
Getting the amount of priming sugar correct is absolutely essential – too little and we have flat beer, too much and we have exploding bottles. The amount that we add to our beer before bottling varies by style, desired carbonation, type of sugar etc. There are some great calculators online that help us to determine how much sugar to use. My personal favourite can be found here. - Prepare priming mix
In your small pot, get some water boiling. You want to boil just enough water to be able to dissolve your sugar in. For a standard batch of homebrew (5 gallons/ 23 litres), generally, 300ml is a good place to start. Once the water is boiling, add the sugar and stir to dissolve. Allow the mix to boil for 10 minutes then remove from heat (covered) and allow to cool completely – don’t open the lid to allow nasty bugs in! - Combine beer and priming sugar
Add your cooled sugar mix to the bottom of your bottling bucket. Then, use your hose (or siphon) to transfer your beer from your fermenter directly onto your priming mix. Stir the mix occasionally (and gently) with your sanitised spoon to combine properly. Important: when transferring or stirring the mix, avoid splashing and creating bubbles as much as possible – oxidation at this point may cause off flavours in your beer.
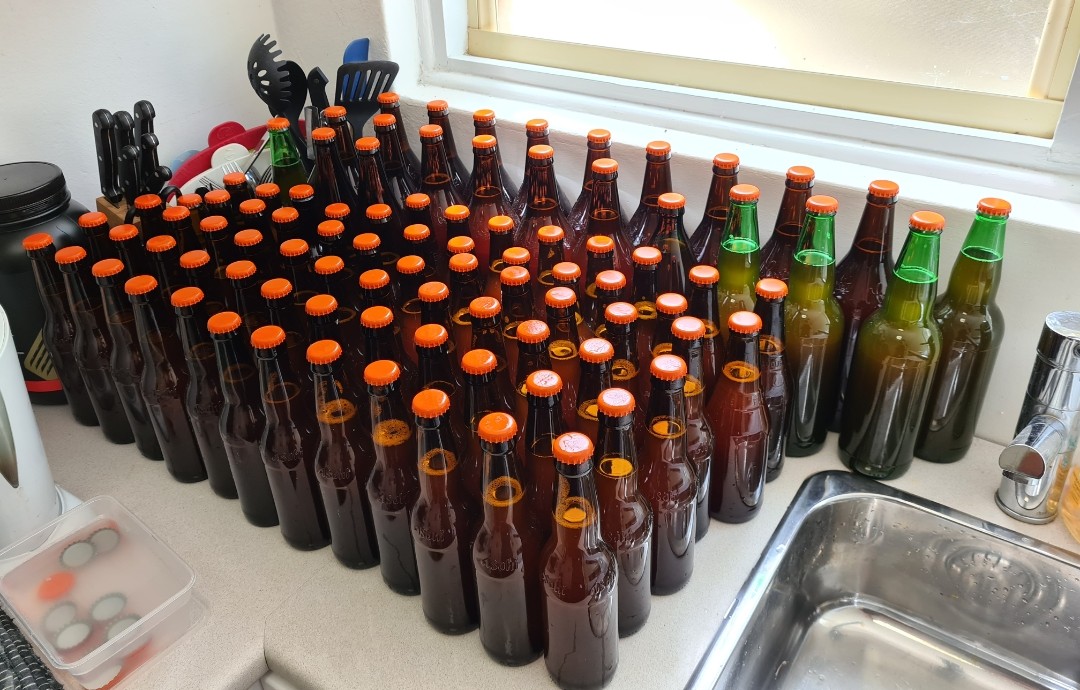
- Get bottling!
Connect your bottling wand, open your tap and start filling bottles. Immediately after filling each bottle, pop on a sanitised cap and crimp it firmly closed with your capper (it can be handy doing this with a second person).
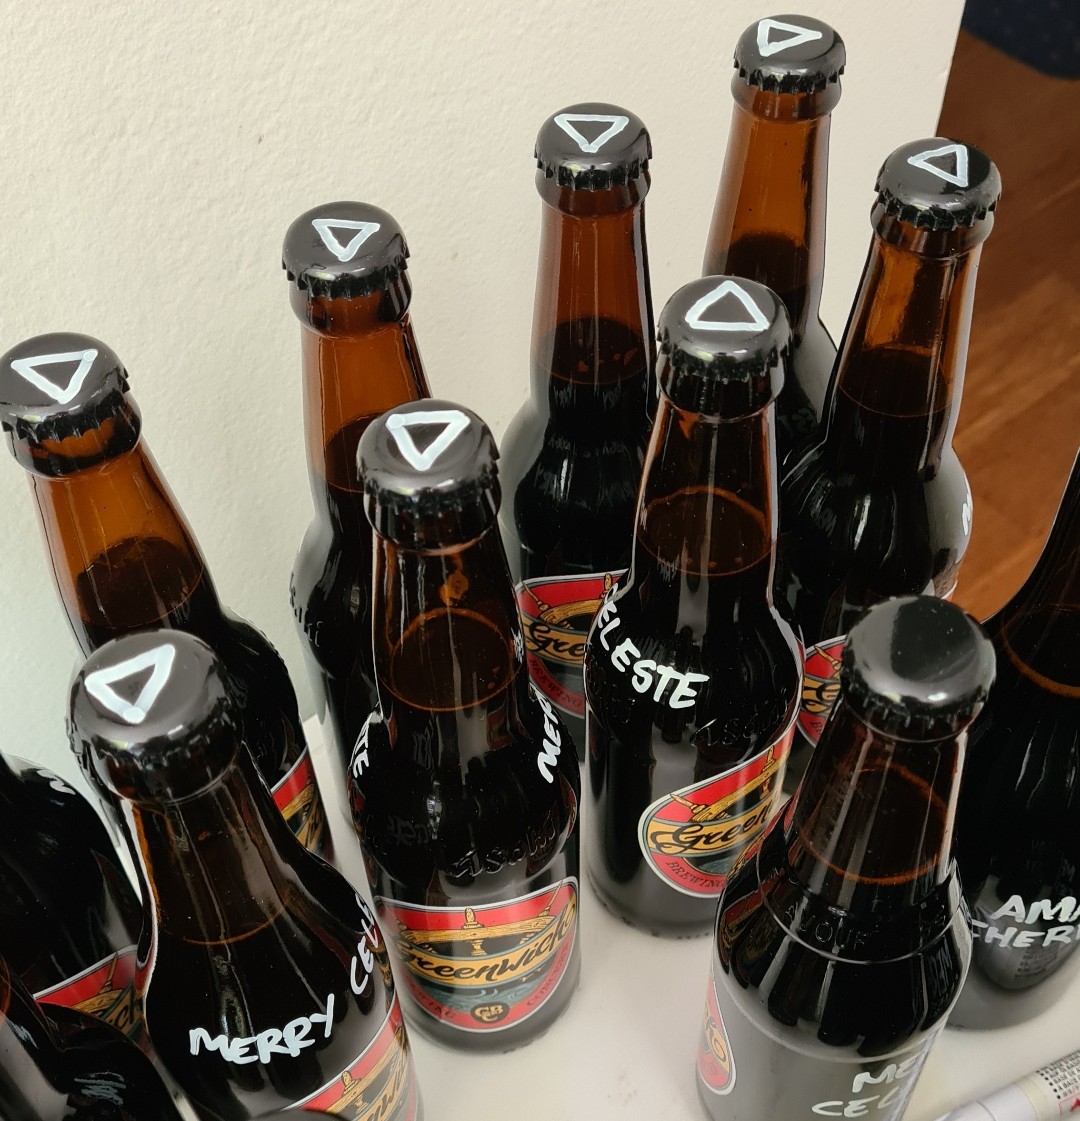
- Prepare your bottles for storage
Rinse any spillages off the outside of your sealed bottles and allow them to dry completely. Mark the following information on your bottle (using a paint marker, label or similar): style of beer, ABV and date bottled.
Storing your brews
Before you can enjoy your beers you need to allow carbonation and conditioning to take place. Put your bottles somewhere dry, dark and cool (ideally a constant 55f or 13C) to mellow out for a while. It’s important that your storage space does not have large temperature swings during the day.
Depending on ambient temperature and type of yeast/ priming sugar used, this will take an absolute minimum of two weeks (if you’re really thirsty). However, I prefer to wait a month (or two) before sampling – this gives ample time for carbonation and conditioning,
But how long can we keep our home brew cellared? The answer to this question varies depending on a few factors: temperature of the cellar, alcohol content, hop content and beer style. As a general rule, the higher ABV and the “hoppier” a beer is, the longer it will last in cellar. As home brews typically don’t have shelf life additives or pasteurisation, it’s usually best to consume within 6 months of bottling.
That being said, I’ve had bottles of home brew that taste great after one, two or even three years!
Cheers!
Read next: How To Carbonate In Mini Kegs and The Science Behind Beer Koozies: How They Keep Your Beverage Cold!