


Home fermentation kits offer craft beer lovers a great way to make beer quickly and easily. You can make delicious beer that rivals anything from a commercial brewery with just a few simple ingredients and some essential equipment. However, as with any brewing process, some common problems can occur when using home fermentation kits.
A home beer fermentation kit can be a great way to get started in home brewing. While these kits are fairly simple to use, some common problems may arise during a fermentation process.
FarmSteady’s All-in-One Kits is the best fermentation kit for beginners! It includes all the necessary equipment and ingredients to get started.
They make brewing beer more accessible than ever by providing all the essential ingredients and equipment in one convenient package. However, issues can still arise during the fermentation process.
Related: 15 Best Holiday Gifts For Beer Lovers
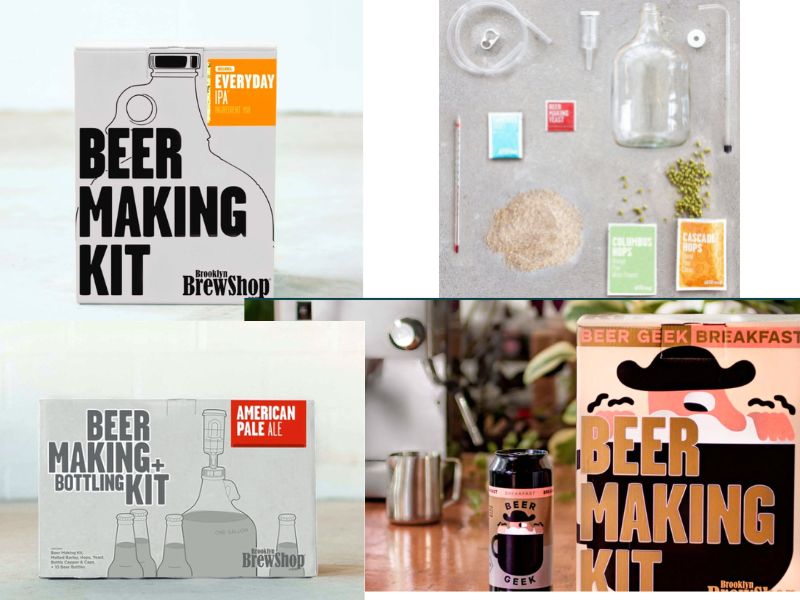
The Best Fermenting Kits
- FarmSteady’s All-in-One Kits
- Canning Kit Complete DIY Fermentation Kit For Wide-Mouth Mason Jar
- Aieve Mason Jar Fermentation Lids For wide-mouth jars and regular-mouth mason jars
- Masontops Complete Mason Jar Fermentation Kit – Easy Wide Mouth Jars Vegetable Fermenting Set – DIY Equipment Essentials
Troubleshooting Common Issues with Home Beer Fermentation Kits
Brewing your beer at home can be extremely rewarding, but it’s not without challenges. Fortunately, most of these issues can be quickly resolved with the right approach and knowledge. In this article, we’ll look at some of the most common problems associated with home beer fermentation kits and provide some tips for troubleshooting them.
Temperature Control Issues
One of the essential aspects when it comes to homebrew is temperature control. If the temperature is too high or too low, it can affect the taste and quality of your beer. Ideally, it would help if you kept your fermenter between 65-72 degrees Fahrenheit (18-22 degrees Celsius).
If your temperature goes above or below this range, your beer could end up with off-flavors and unwanted yeast characteristics. To prevent this from happening, monitor the temperature regularly and adjust accordingly. You may even want to invest in a heating pad or cooling wrap specifically designed for homebrewing if your fermenter’s temperature is difficult to regulate.
Yeast needs a consistent temperature to do its job correctly; sudden changes can throw off the entire process and result in off-flavors or even cause your batch to become contaminated with bacteria or wild yeasts.
To prevent this from happening, it’s essential to make sure that your fermentation environment is not subject to any large swings in temperature—ideally between 68°F–72°F (20°C–22°C). If necessary, you can purchase an inexpensive thermometer strip and place it on the s
RELATED: How to Build the Perfect Homebrewing System from Scratch
Stuck Fermentations
Another common problem with home beer fermentation kits is a stuck fermentation—when fermentation doesn’t start or stops prematurely due to insufficient oxygenation, incorrect temperatures, or inadequate yeast nutrition.
To prevent this, you should ensure that your wort is correctly aerated before pitching yeast and that you are pitching enough yeast for the volume of wort being fermented.
It would help if you also aimed to keep the temperature consistent during fermentation so as not to shock the yeast.
Yeast Health Issues
One of the most common issues that brewers run into is related to yeast—either too much or too little of it.
If you don’t have enough yeast present, your beer won’t ferment correctly, resulting in an off-flavor or a sour taste. On the other hand, using too much yeast can lead to an overly sweet beer and a lack of carbonation.
The key here is to use the right amount of yeast in your brew, typically 1 teaspoon per 5 gallons of wort (the mixture of water and malt that becomes beer).
It’s also essential to make sure you’re using fresh yeast; if the packet has been open for more than 6 months, you should get a new one.
Poor yeast health usually occurs due to inadequate aeration before pitching yeast or poor sanitation practices, leading to contamination issues such as wild yeasts or bacteria entering the wort during fermentation.
To prevent this from happening, ensure that you correctly sanitize all equipment before use and that your wort is adequately aerated before pitching yeast into it.
Additionally, if you encounter contamination issues during fermentation, discard any contaminated batches immediately to avoid spreading any possible infections throughout other batches of beer down the line.
Poor Aeration
For yeast to do their job correctly, they need oxygen; if there isn’t enough oxygen, they won’t perform efficiently, resulting in off-flavors or stalled fermentation. To ensure adequate aeration when brewing at home, it’s essential to vigorously stir your wort after adding all ingredients, including yeast and priming sugar (if applicable).
This will help provide enough oxygen for optimal fermentation performance while minimizing the risk of contamination from wild yeasts or bacteria.
Foaming Over
One of the most common problems for beginner brewers is foam spilling over during the fermenting process. This is caused by excessive amounts of carbon dioxide produced during fermentation, which causes pressure to build up in the fermentation vessel and forces foam out.
To avoid this problem, be sure to use appropriately sized equipment for your batch size—bigger batches need bigger vessels—and keep an eye on your airlock while it’s fermenting.
Sticking Gravity
Another issue commonly encountered with home fermentation kits is “stuck gravity” or “stuck fermentation” when the brew fails to reach its expected final gravity—the amount of sugar remaining after fermentation has completed—after several days or weeks.
This can be caused by several things, such as too low a temperature for yeast activity or not using enough yeast in your recipe.
To troubleshoot this problem, try raising the temperature in the fermenter or rehydrating more yeast if necessary.
Off Flavors
Last but certainly not least is off flavors in your finished beer. If you taste something unusual like plastic or rubber, chances are it’s due to contamination from bacteria or wild yeast strains in your equipment or ingredients.
To prevent this from happening again, ensure all your brewing equipment is sanitized before each use, and store unused ingredients in an airtight container in a cool place until ready for use.
Conclusion
Brewing your beer requires patience and attention to detail, but with some knowledge and practice, you’ll soon be enjoying delicious craft beers made right at home!
Most issues encountered while brewing is due to improper technique or not paying close enough attention during specific steps like aeration and temperature control.
By understanding what causes these problems, you’ll be better equipped to avoid them in the future! With patience and practice comes excellent rewards—so happy brewing!
Read Next: All in One: Electric Beer Brewing Systems