


I started brewing over 15 years ago as a way to be able to afford beer as a broke student. I have never worked as a commercial brewer and don’t have any plans to. I like to call myself an “enthusiastic amateur” when it comes to brewing. Home brewing is a constant learning curve: with every brew, we make, and learn from, our mistakes. This allows us to create better and better beer.
In this article, I’ll share some mistakes, lessons and tips that I’ve learned as a homebrewer. Whether you’re new to brewing or an old hand, hopefully you learn something. If not, you can at least laugh with me in my misfortune.
Don’t drink…before the boil
I’m just going to come out and say it: I love to drink booze while I brew. From a dash of grappa in my coffee during an early morning mash to a cold lager while I clean my gear at the end of the day. Enjoying the fruits of our labour is why we brew, right?
Mounting medical evidence that suggests drinking all day might not be a good idea. Aside from this, being drunk in the brewhouse can definitely affect the quality of your brew and may even be dangerous when you’re dealing with boiling wort, chemicals, electrics etc.
I’ve certainly made some stupid mistakes after one too many brew day refreshments: I’ve mixed sanitiser incorrectly, messed up my mash and hop schedules, overheated hot liquor and been too drunk to go get more gas for the burner. I once miscalculated priming sugar and ended up with exploding bottles – an avoidable and truly dangerous mistake.
I’m certainly not going to tell you not to drink on brew day – that would be hypocritical of me. Instead, consider holding off before cracking that first beer of the day. I like to wait until the boil because I’ve done all my calculations, measured out my additions and completed my mash schedule.
Brew to the weather
Understanding and controlling the fermentation temperature is absolutely crucial to making tasty, consistent beer. This is an element of brewing that took me a long time (and some spoiled brews) to appreciate. This could mean temperature controlled fermentation and lagering chambers but it doesn’t need to be this complex (or expensive) for the average homebrewer.
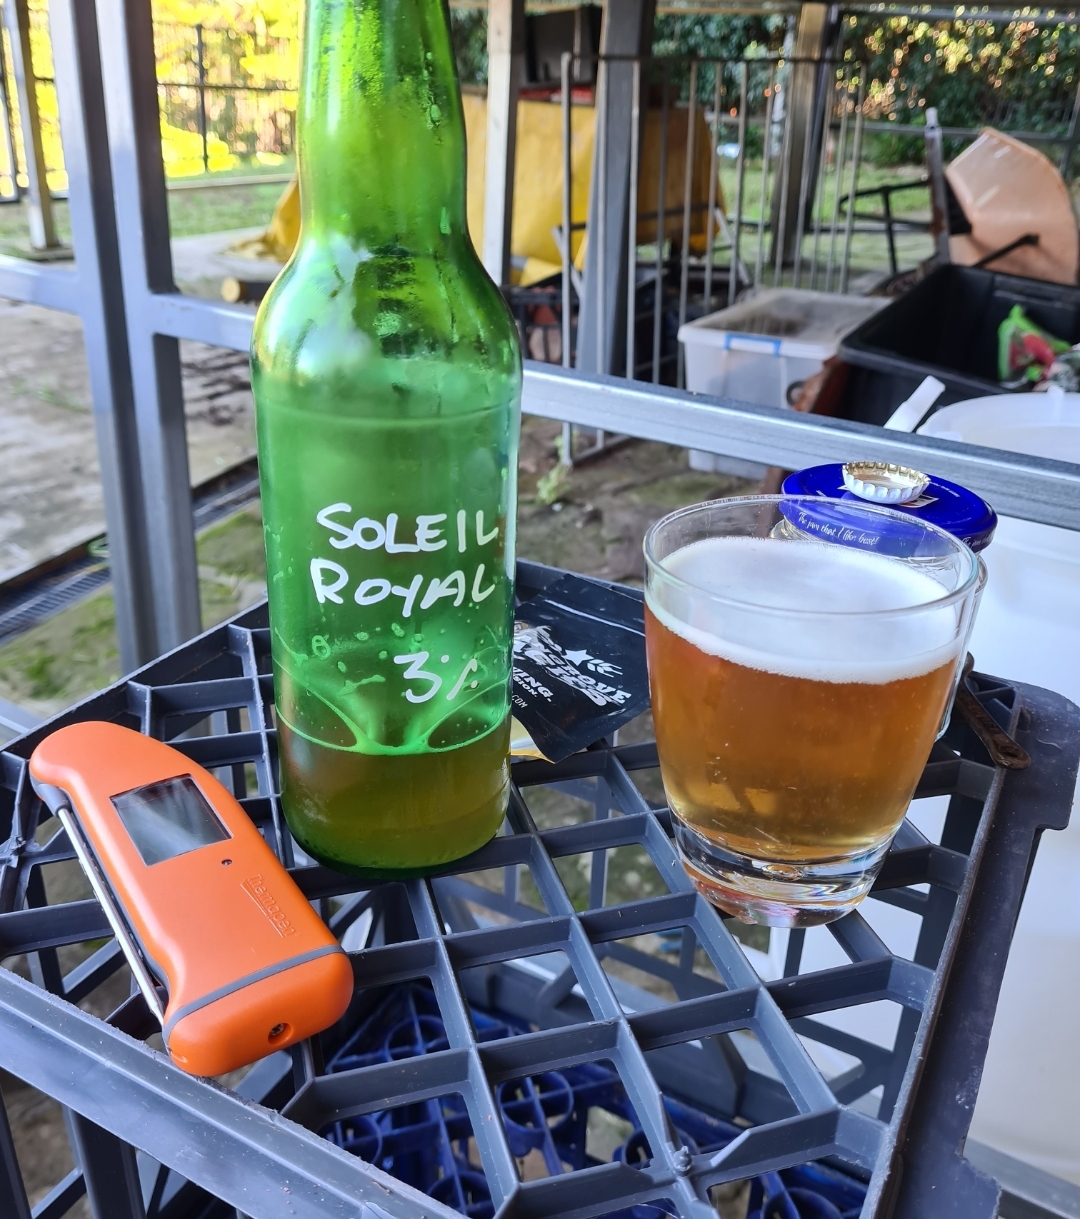
Buy yourself a cheap ambient temperature thermometer and monitor the space where you’re fermenting and cellaring beer – you want to avoid big swings in temperature. Cellars and basements are dark and generally a pretty consistent temperature – there’s a reason brewers have been using them for thousands of years!
Once you have an idea of the conditions of your fermenting space, check the range for your yeast and brew different recipes for different seasons. In my temperate climate, this means ales in the winter, saison and weissbier in spring/autumn and a lovely refreshing ginger beer or mead in the summer.
Track your brews
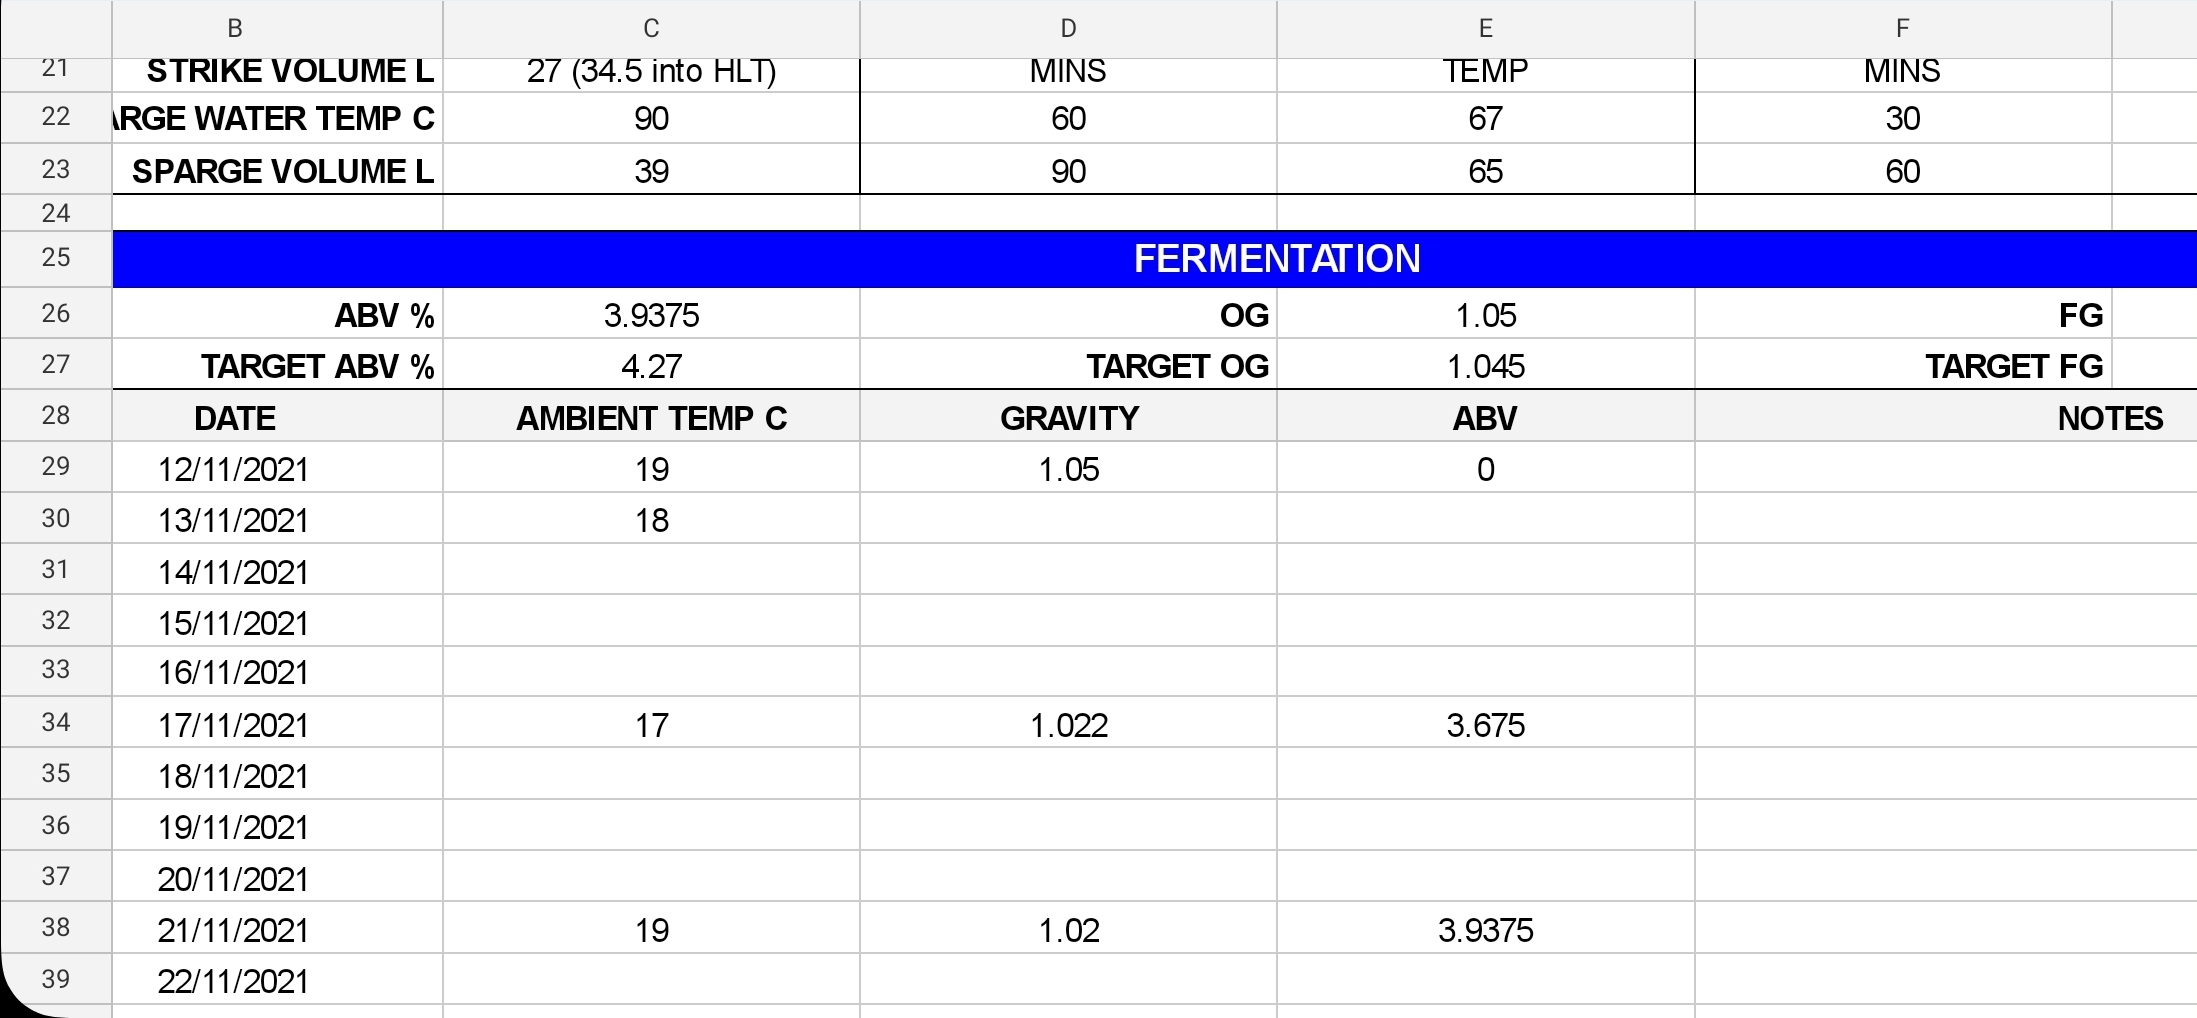
An important lesson I learned early in my brewing adventures is the importance of keeping records. By having detailed notes, we can revisit our recipes and processes to identify areas for improvement. With thorough note taking we can tweak our recipes and processes to get better beer! Note taking can be as simple as jotting something down in a notebook or having dedicated spreadsheets and documents on a computer (if you’re a big nerd like me!)
But what notes should we be taking? This is really up to personal preference, but there are a few vital data points that I think are extremely useful for any homebrewer:
- Brew date
- Bottled date
- Recipe (including hops, yeast and any other additions)
- Mash, sparge and hop schedule
- Key temperatures (strike, mash, fermenting temperature etc.)
- Volumes (fermenter, packaged)
- Specific gravity (before, during and after fermentation)
- Priming sugar type and amount
- Tasting notes
Double up on gear
The equipment that we use to brew will become exhausted over time. Seals and connections fail, hydrometers break and burners become rusty. While it’s not practical (or cheap) to have back ups for all your equipment, if you buy a few extra pieces for the brewhouse it will make your life a lot easier.
Some fairly cheap equipment to buy two of are: hydrometer, seals for your fermenter, washers for taps and hose connections, full gas bottle, spray bottle, cleaner/ sanitiser and bottle opener. I also like to keep a back up thermometer to check calibration (but this can be a little more expensive).
Wait…and then wait some more
I’m a really impatient person. I’m always rushing around and trying to do a million things at once. Unfortunately this is not a good way to brew. Beer, wine and other delicious fermented beverages need time to ferment, carbonate and condition. Don’t rush any stage of the process.
Take gravity readings to check fermentation progress and when in doubt…just leave your brew alone! My rule of thumb for ales is to leave them at least two weeks before I even think about bottling. For ginger beer this time is closer to six weeks. For mead even longer. Obviously time will vary by conditions and style but my advice here is simple: leave your brew alone, check gravity and let the yeast do their thing!
It is extremely rare that your brew will get worse by leaving it alone for a few extra weeks. I know there is talk that letting your brew sit on a yeast cake in primary fermentation will negatively affect the flavour but this has never been my experience. I’ve also read that after an extended secondary fermentation the yeast will “die” and make bottle carbonation impossible without adding fresh yeast; again, this has never happened to me personally.
Conclusion
I hope this article has been useful. Homebrewing is an amazing hobby full of creativity and learning. You will make mistakes but it’s what you learn from these mistakes that matter. Hopefully you can learn from a few of mine and make even better brews. Always remember, we home brew because it is fun – so just relax and enjoy the process!
Cheers!