


How-To Guide and Galaxy Pale Ale Recipe
Home brew kit beer doesn’t have to be looked down upon by experienced brewers and beer drinkers. In fact, many of the kit beers available are carefully developed recipes, produced by experienced breweries and condensed into cans for you to use with ease.
Unfortunately, often times they are packaged with lazy-boy instructions, low quality yeast, and recommend additions involving table sugar – you should avoid these things at all cost. If you want to make beer, follow these ten easy steps and you will soon learn how to improve kit beer with barely any extra effort!
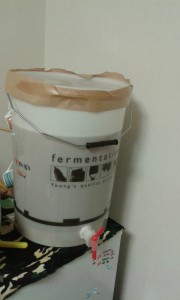
 Brewing Kit Beer
Technically, kit beers are already brewed – all you need to do is mix and ferment. The following is an easy guide on making a kit beer every bit as good as a quality all-grain batch. We will be replacing the use of sugar with a dry malt extract, adding finishing hops and dry hops and will even get you to use some specialty malt.
For the purpose of this How-To guide, I am going to be making a Galaxy Pale Ale – one of my favorite kit beer recipes. To make your own winning beer, simply substitute any (or all) of the ingredients with your own choices.
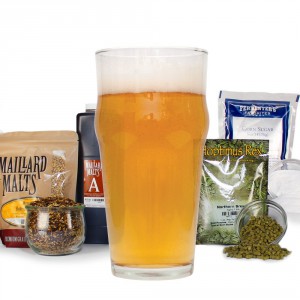
What You Will Need:
- A basic homebrew fermentation kit. If you don’t have one yet, click here for a quick guide: https://winningbeers.com/how-to-make-your-own-beer-kit
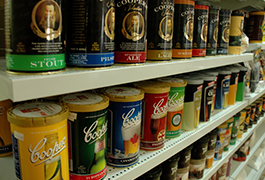
- A can of kit beer

- A yeast suitable for the beer style
- Additional malt extract (instead of sugar)
- About 100g-500g of cracked specialty malt
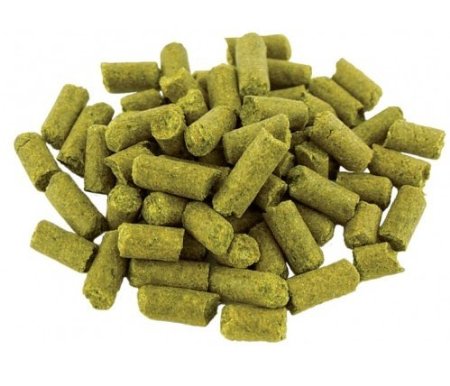
- Finishing and/or dry hops
- A coffee plunger or a big kitchen strainer
- A pot capable of holding 2 liters of water (about 2 quarts)
- A teacup
Since I’m making a Galaxy Pale Ale, my recipe looks like this:
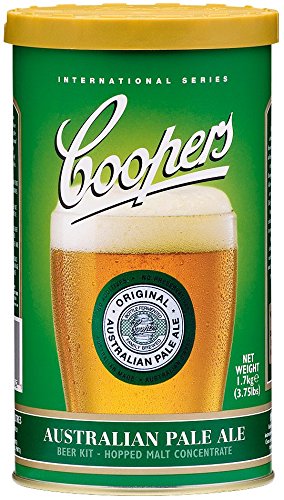
- 1.5kg can of Coopers Pale Ale (about 3 pounds)
- 1 sachet of Fermentis Safale US-05
- 1kg of Light Dry Malt Extract (about 2 pounds)
- 200g of cracked Crystal Malt (about 7 ounces)
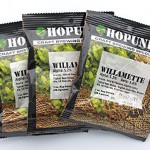
- Finishing hops: 15g of Galaxy hops (about half an ounce, sold in a teabag)
- Dry hops: 15g of Galaxy hops (about half an ounce, sold in a teabag)
To find kit beers and ingredients, check out My Brew Supply on Amazon.
How To Do It
You’ll be amazed at how easy this is, and how well it turns out.
 Bring two liters (about two quarts) of water to the boil. As soon as it reaches the boil, remove from heat and add the cracked malt. Let steep for 20 minutes, stirring occasionally.
- While the grain is steeping, make sure your equipment is all clean and sanitized.
- Using a strainer or coffee plunger, strain the liquid (now called ‘wort’) into your fermenter.
- Mix the can of kit beer and your malt extract into the wort, ensuring everything has dissolved.
- Add cool water to the fermenter, filling up to 20 liters (about five gallons).
- Add your finishing hops to the teacup and use it to make a cup of hop tea. Empty the teacup into the fermenter.
- Assuming your wort is within the temperature range (as recommended on your yeast label), you can now add the yeast and seal your fermenter.
- Ferment as normal.
- After three days, add your dry hops (if you plan to dry hop your beer).
- Continue fermentation as normal.
You may be worried about adding dry hops and infecting your beer – if you have used a store-bought finishing hops bag you needn’t worry. They are sealed in sanitary conditions and hops are a mild preservative anyway.
Done!
And that’s how easy it is to make your kit beer into a real winner! As long as you have taken care of your sanitation, followed all the steps, and kept your fermentation even, this method will please even your most formidable critics.
Cheers
If you would like a recommended recipe, have any questions, or want to leave feedback, please do so in the comments section. Enjoy!
Read next: 7 Easy Ways To Add Personalization To Your Beer Koozies, Making Ginger Beer (Without Equipment!) and The Science Behind Beer Koozies: How They Keep Your Beverage Cold!
Thank you JessHop you have trained me how to prepare and make Kit Beer. All the procedures from the first to last are well understood and followed. It is easy to make Kit Beer with your steps or even for me to able to do it.
Thank you so much and your site is easy to access and it loads faster.
Divican.
Hey Jesse,
Thanks for the great information on how to improve my kit beer. I was using kits that I had found in the store and wasn’t getting the results I was looking for.
After reading your post I am now eager to try out some of your suggestions. Thanks!
Hi Engen,
I actually still brew kit beers from time to time, there are some great combinations out there!
I’ve always seen these kit beers at the super markets but I never knew how to actualy use them. They have always interested me though I must say. The fact that you can actually create your own beer, to me sounds sooooo of fun. But I was just so scared that I was going to mess it up and waste my money. Thanks for the instructions
Thanks Marquan,
Don’t be afraid to try making beer – just dive in and have fun!
Cheers
Hey Jesse,
This article is extremely helpful in brewing kit beer. I had no idea it could be made that much better and I am definitely excited to give this a try! I agree with the poster above, making your own beer is pretty cool! Thanks for sharing this with us!
Also, I want to compliment you on your site. It looks amazing!
David.
Thanks so much David.
Keep trying out different combinations and please share your findings with us!
You make home brewing easy! I know a few people who home brew and although they get really excited about it, they make it sound like a lot of work.
Your site is very clear and so understandable that I think even I can brew a batch of beer!
Keep up the great job!
Thanks Diana